Pear Cider’s Bubbly Cousin: How to Make Perry
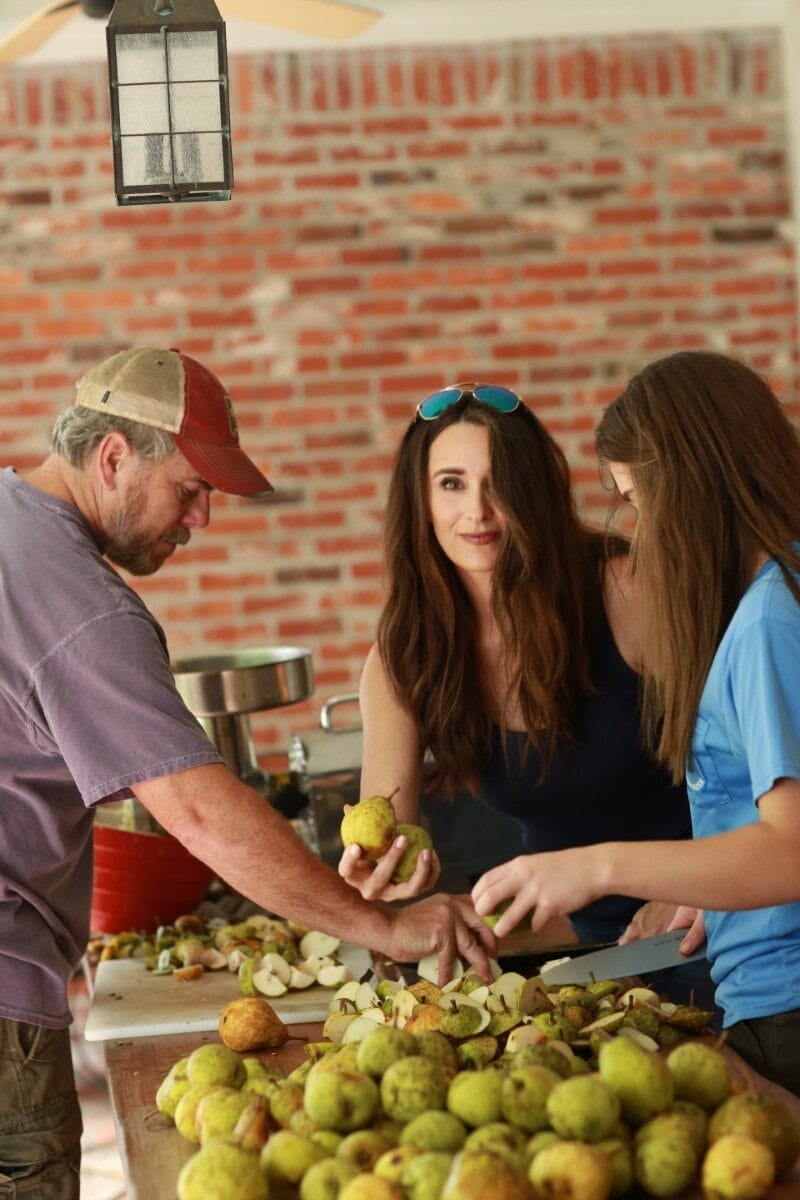
Both pear cider and fermented perry are super refreshing ways to use up a pear harvest. We had a ton of pears from our old pear tree this year; I had them laying out on my dining room floor to age. Fresh, cold perry seemed like the perfect thing to make with them.

So Scott and Forrest got busy pressing crushing and pears. Watch their technique and ingenious trick in the video below.
They processed the pears first with a meat grinder and then with a cider press. Why a meat grinder? Well, the pears need to be crushed before you put them in a press, and we didn’t have an apple crusher. That grinder turned out to be a brilliant idea! Watch Forrest demonstrate in the video.
What’s the Difference Between Pear Cider and Perry?
What is perry, exactly, and how is it different from traditional cider? You might say that perry is pear cider’s fermented cousin. The fermentation process makes perry is a hard cider. Yes, it has some alcohol, but very little–less than wine. You can drink it cold like beer, but unlike most beer, it’s gluten free.

Sweet pear cider typically is a mixture of pear and apple juices mulled in a crockpot with cinnamon sticks, ginger, and maybe allspice. It might even include lemons. Perry, however, is typically 100% pear juice, pressed and then strained.
If you want a purely sweet non-alcoholic cider, then perry is not for you. But if you want to try a hard version, perry has an amazing flavor.

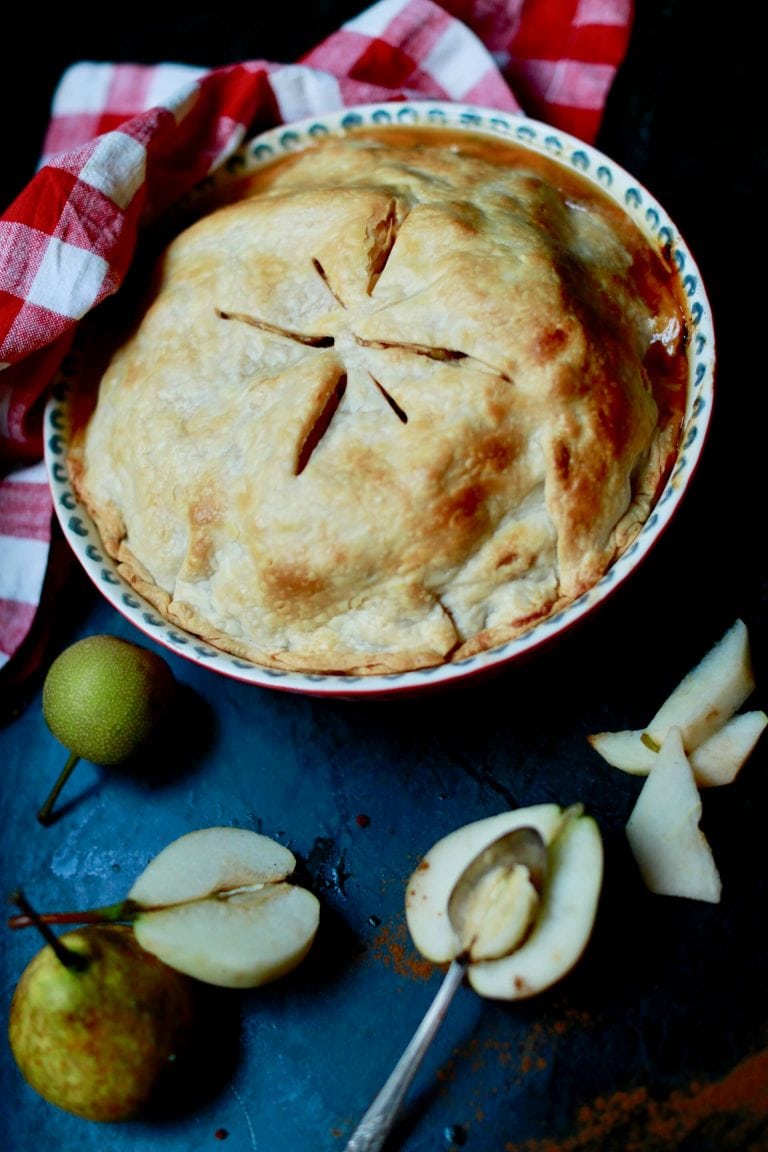
Last but not least, it’s super refreshing. So along with poached pears and pear pie, it’s an amazing recipe to use up ripe pears.
How to Make Perry
If you want to take pear cider to the next level, this is the recipe for you. Here’s how to make a batch of perry, step by step.

- If you want to go all-out and make traditional perry, you can use special perry pears. These have been grown in orchards for centuries especially for making perry. However, since they’re very high in tannins and acids, perry pears are not so good to eat. More common varieties like bartlett, bosc, and d’anjou will do just fine for this recipe.
- Follow the instructions in the video on this page to crush and then press your pears.
- Once you’ve pressed out your pear juice (the hard part), follow the recipe below. Be sure to sanitize all your equipment first. After the initial ferment it will take about 3 1/2 weeks to have finished cider. Chill in the fridge for best enjoyment!

Perry or Hard Pear Cider
Equipment
- Sanitizer
- Fermenting vessel (brewing bucket)
- Rubber stopper
- Fermentation airlock
- Siphon with tubing for bottling
Ingredients
- 1 gallon pear cider or freshly pressed, strained pear juice
- 1/2 pound sugar
- 2 teaspoons tannin Vintner’s Wine Tannin
- 1 tablespoon citric acid powder
- 1 crushed Campden tablet
- 1/2 teaspoon yeast nutrient LD Carlson
- 1/4 packet premium cider yeast Cider House Select
Instructions
- Make sure all equipment is sanitized.
- In a large pot, heat pear juice and brown sugar, stirring, until the brown sugar is dissolved. Add the cider into the fermenting vessel. (I use a 5-gallon bucket.) Add the tannin, citric acid, and Campden tablet. Cover and allow to sit for 12 hours.
- After 12 hours, add the yeast nutrient. Stir a few times. Sprinkle the cider yeast over the top of the bucket and cover with a towel or loose top for a few days, allowing the sediment to fall to the bottom of the bucket.
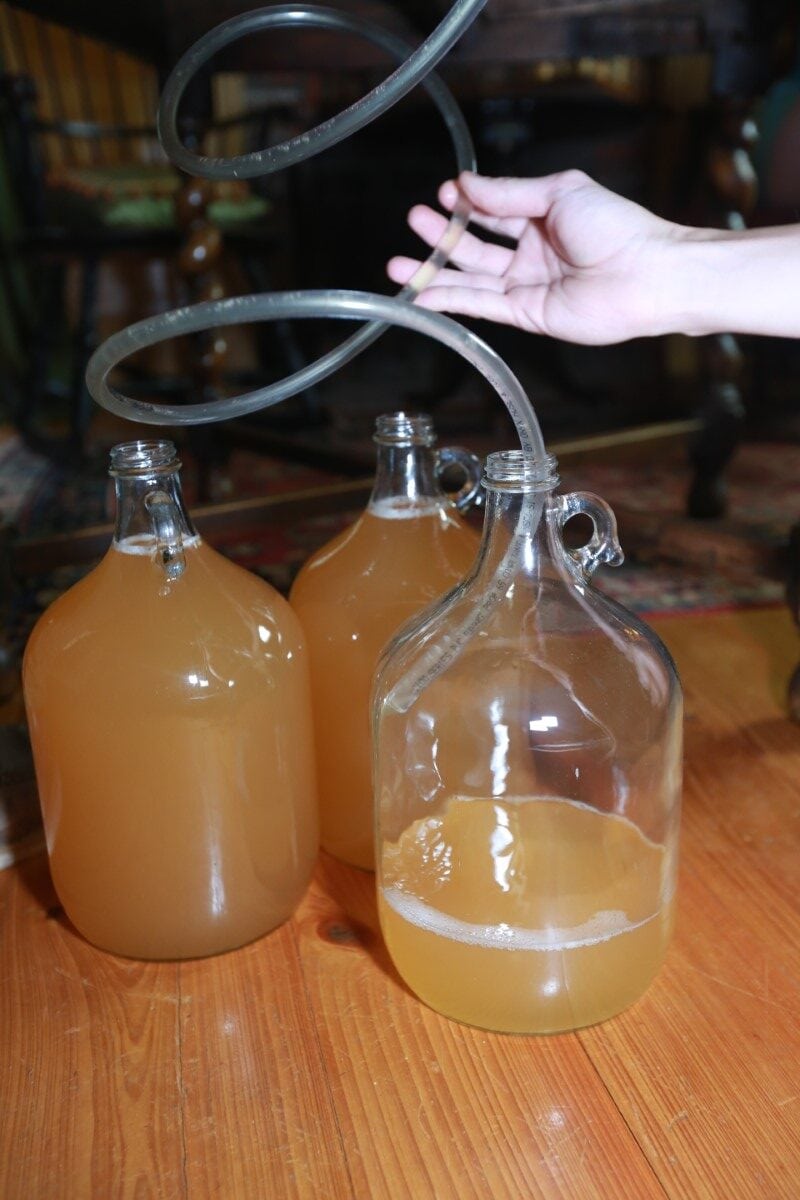
- After a few days, place funnel over the jug and pour in the juice. Leave 2 inches of headspace. Attach the rubber stopper and the airlock. Fill water to the fill line, and then carefully place the airlock on top of the jug. Make sure water is always at the fill line during this process.
- Place the cider in a dark, cool spot to ferment. You will begin to see bubbles in the jug. It will take about 3 weeks for it to ferment completely. When there are no longer bubbles, your cider is ready to siphon and bottle!


