No Knead Artisan Bread Recipe
This No Knead Artisan Bread Recipe is so simple to make and so delicious, I doubt you’ll buy bread again from the store. The only real time involved in this recipe is the time the dough takes to rise.
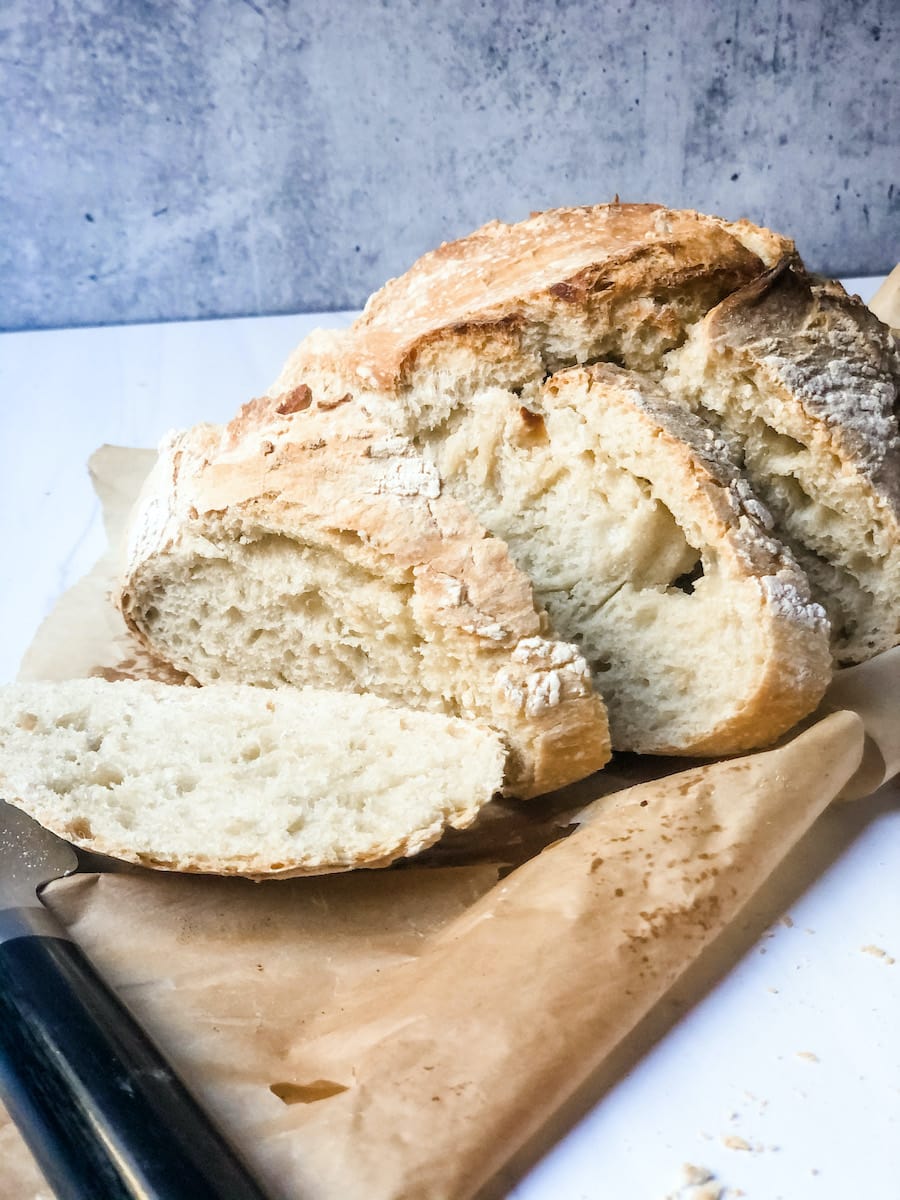
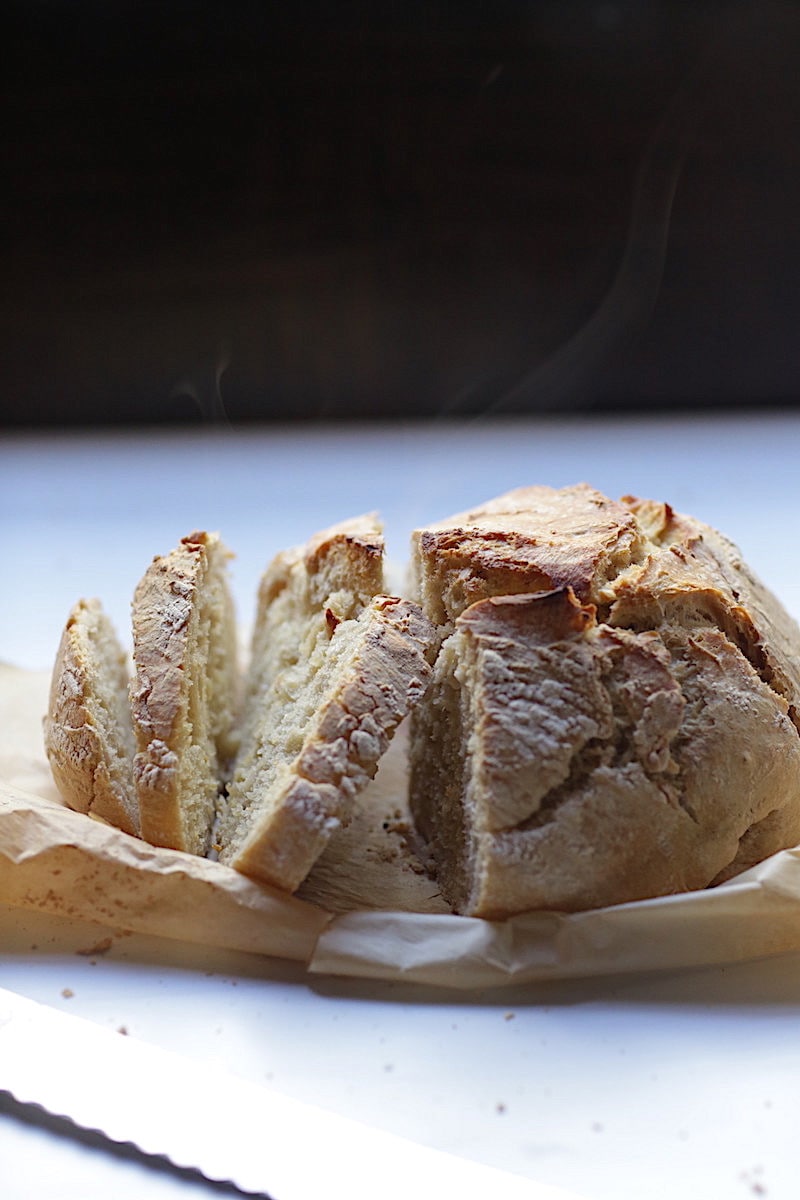
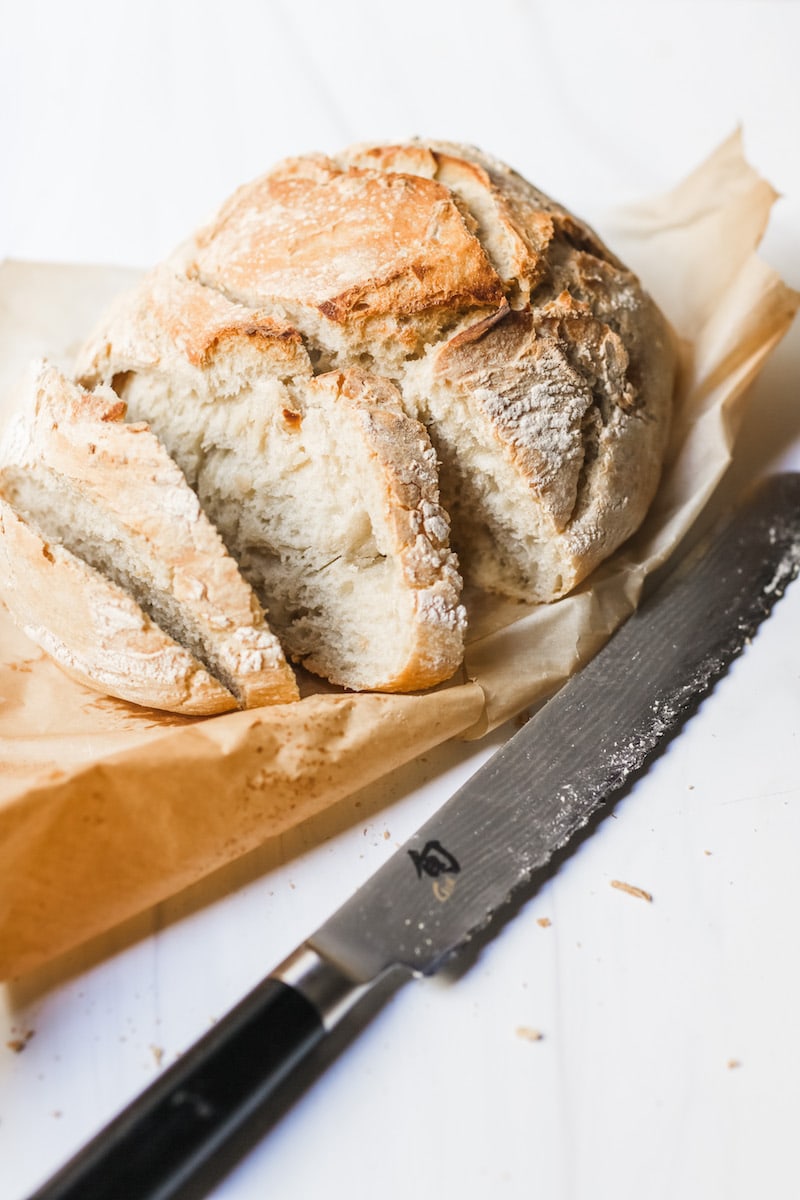
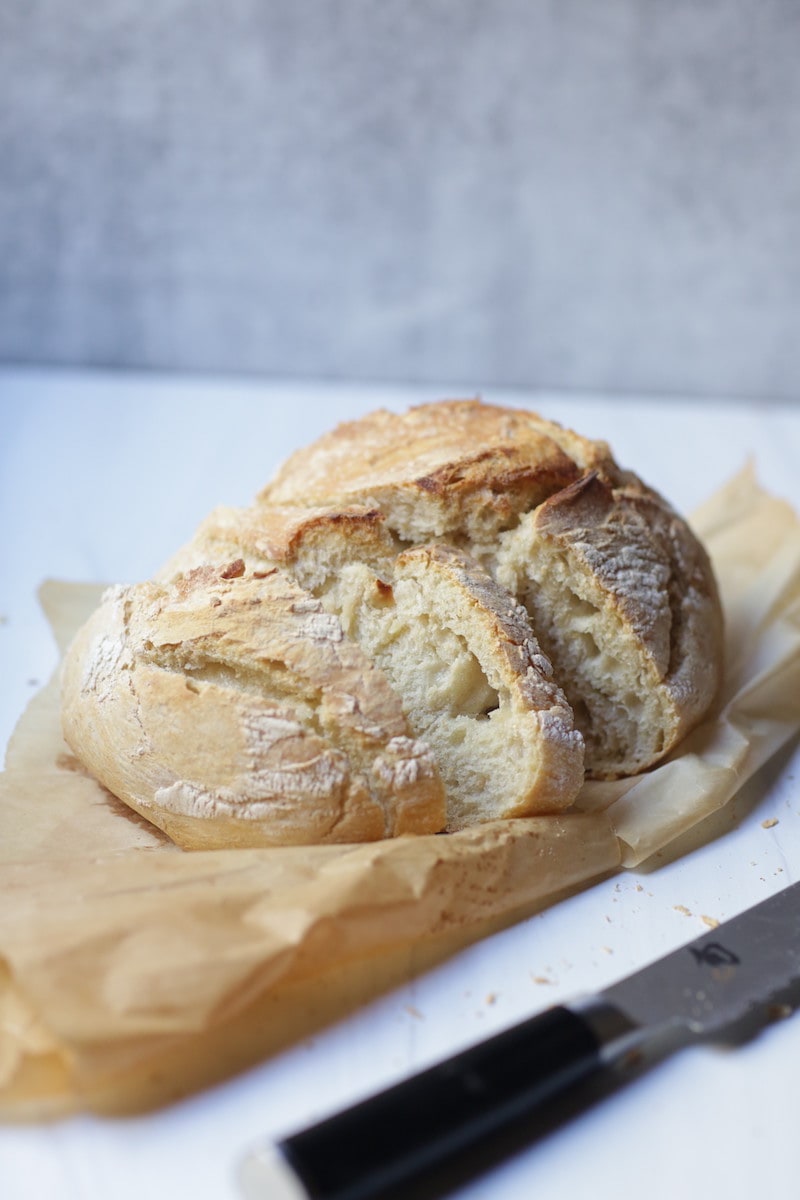
I wanted to create a simple and quick bread recipe that didn’t sacrifice flavor and structure. Consequently, this bread recipe was born! Artisan breads like this one have a tender, chewy texture and deep golden color and crunchy exterior.
This truly is a no-fail bread recipe. My kids and I take turns making it almost daily because it really is just that simple. I love the fact that you only need 5 ingredients to make a wonderful homemade bread: flour, water, salt, sugar, and yeast.
If you follow the No Knead Tips here, you will get perfect artisan bread every time. I am also including some key tips below.
Tip #1: Wait for the Yeast to React with the Sugar
In a small bowl with 109- to 112-degree water, add sugar and mix well. This will give a head start to the yeast’s bubbly reaction. Add the yeast and then wait for about 20 minutes or until you see the chemical reaction of bubbles taking place.
Add the bubbly yeast mixture to one side of the larger bowl with your flour-and-salt mixture. At the same time, add the remaining water to the other side of the bowl. Begin to gently mix the ingredients, making sure all the flour is well incorporated.
Tip #2: Incorporate Liquid Fully into the Dough
Although this is a no-knead recipe, the ingredients need to be incorporated completely before you leave the dough to rise. Depending on the humidity of the air, this process can take a little longer on some days than other days.
Once you have mixed the ingredients with a wooden spoon, get your hands in the mix and begin pressing the dry pieces into the wet until completely incorporated. I “squish” the ingredients together. That’s the best way to describe it! This is very important for the dough’s rise.
Often, different flours will retain moisture differently as well. If your dough is dry, add a little more water by the tablespoon. You will want to make sure it is a little sticky.
I handle the dough for about 5 minutes using my hands.
Tip #3: Why Salt Is Important in Any No Knead Bread Recipe
Often, people think salt is only to flavor the bread. Actually, there are several reasons the salt is important, especially in this recipe.
You don’t have to knead this bread because the amount of salt in the dough controls the rate of fermentation and strengthens the gluten.
Always start with mixing the dry ingredients together and incorporating the salt throughout. If the salt isn’t incorporated well and comes in direct contact with the yeast, it will kill the yeast and your dough won’t rise.
Tip #4: Allow a Second Rise in a Warm Location Free From Drafts
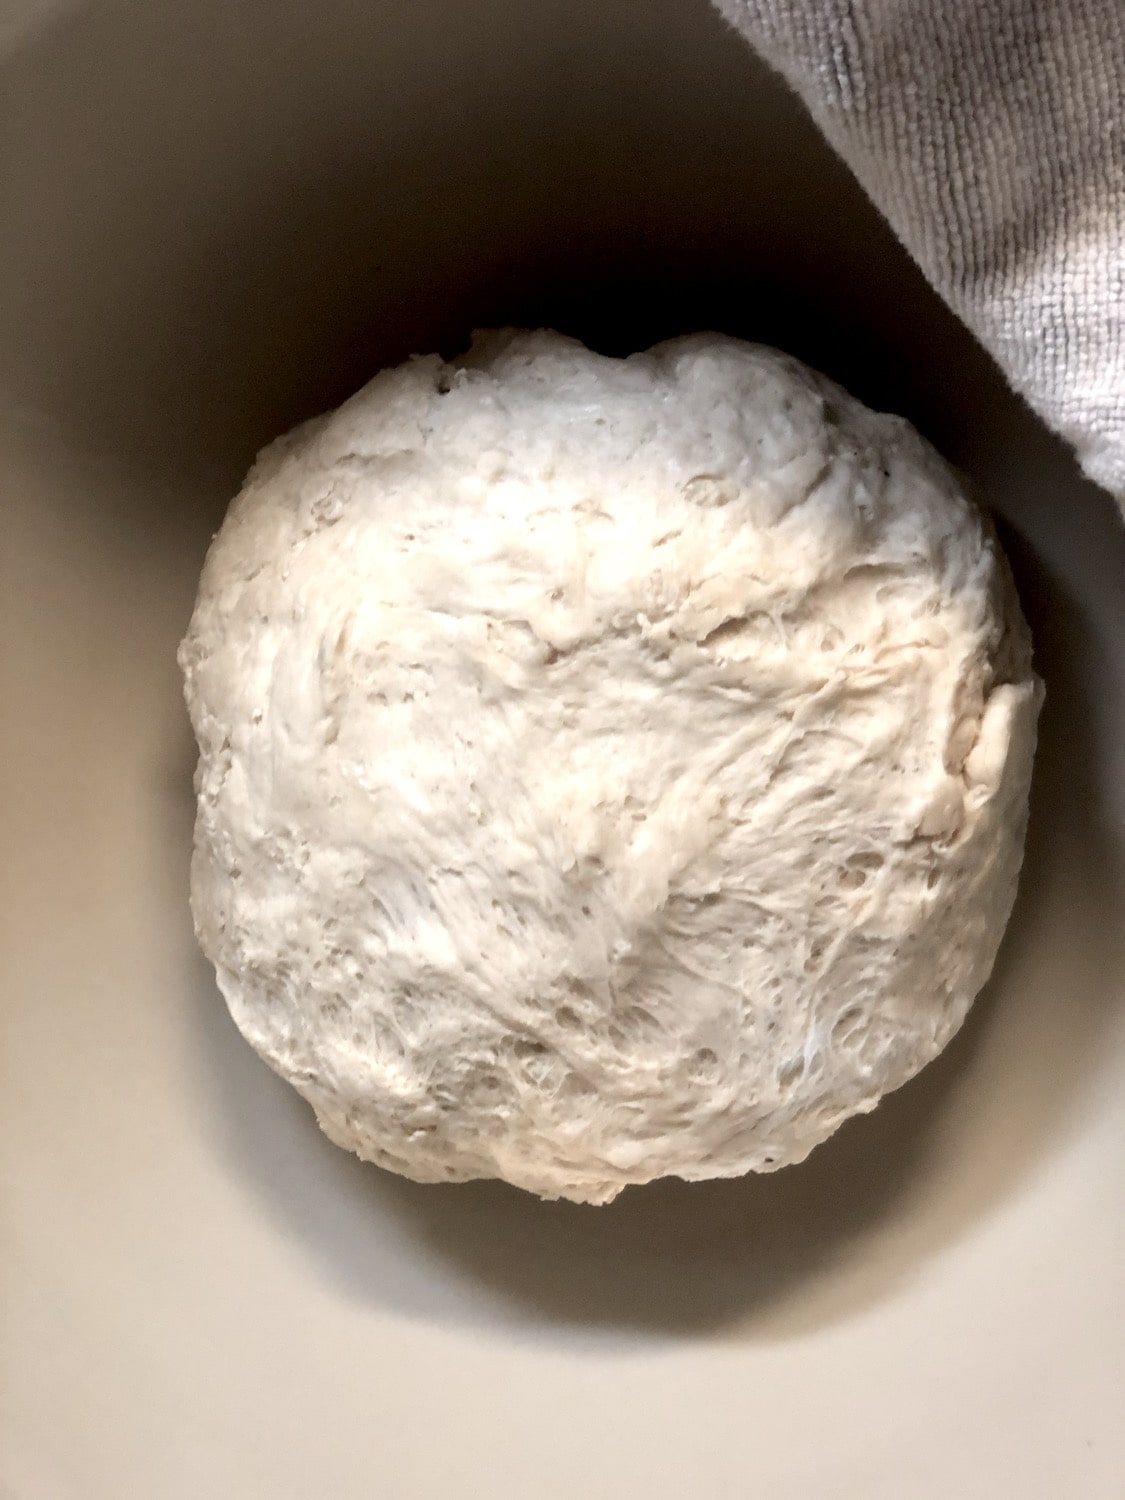
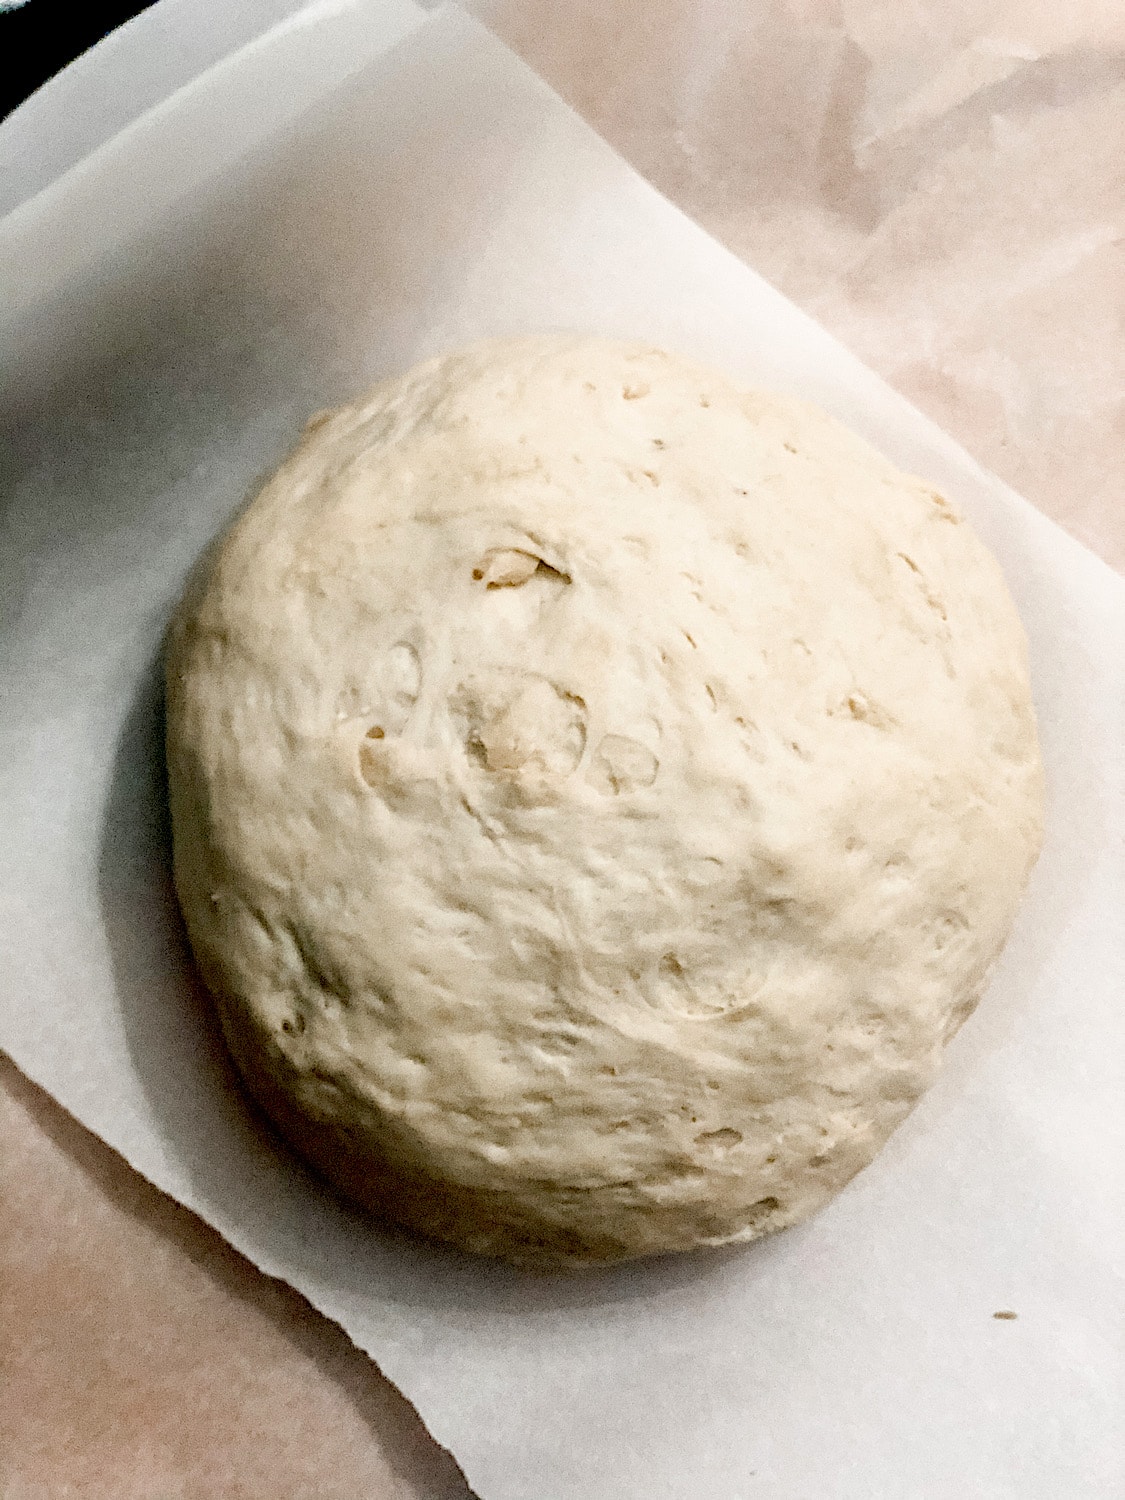
After the dough has risen overnight, slowly and gently remove it to a floured piece of parchment paper and shape it into a ball.
Make sure to place the dough in a warm location free from drafts. Even if you don’t see a large increase in the second rise, go ahead and bake the bread. It will rise in the oven, though it may be a bit more dense. It should still be good if it rose the night before.
Tip #5: Why Use A Dutch Oven in Preparing No-Knead Artisan Bread?
Using a Dutch Oven for this recipe is also of utmost importance. Moisture is key. The amount of water in the dough forms steam in the Dutch Oven. This moisture eventually evaporates, forming the chewy texture of the bread and a crunchy crust.
Once you have tried it, this recipe will permanently be in your repertoire – I guarantee it.
Don’t forget to check out 5 Tips for for creating the perfect No-Knead Artisan Bread.
No Knead Artisan Bread Recipe
Ingredients
- 3 cups all-purpose flour White Lily
- 2 tsp salt
- 1 tsp active dry yeast
- 2 tsp sugar
- 1 cup 109 to 112 degree water divided
Instructions
- In a large mixing bowl incorporate flour and salt thoroughly.
- In a small bowl, add 1/4 cup room temperature water, yeast,and sugar and mix to incorporate. Allow it to sit for 15 to minutes, or until you see a chemical reaction (lots of bubbles) take place.
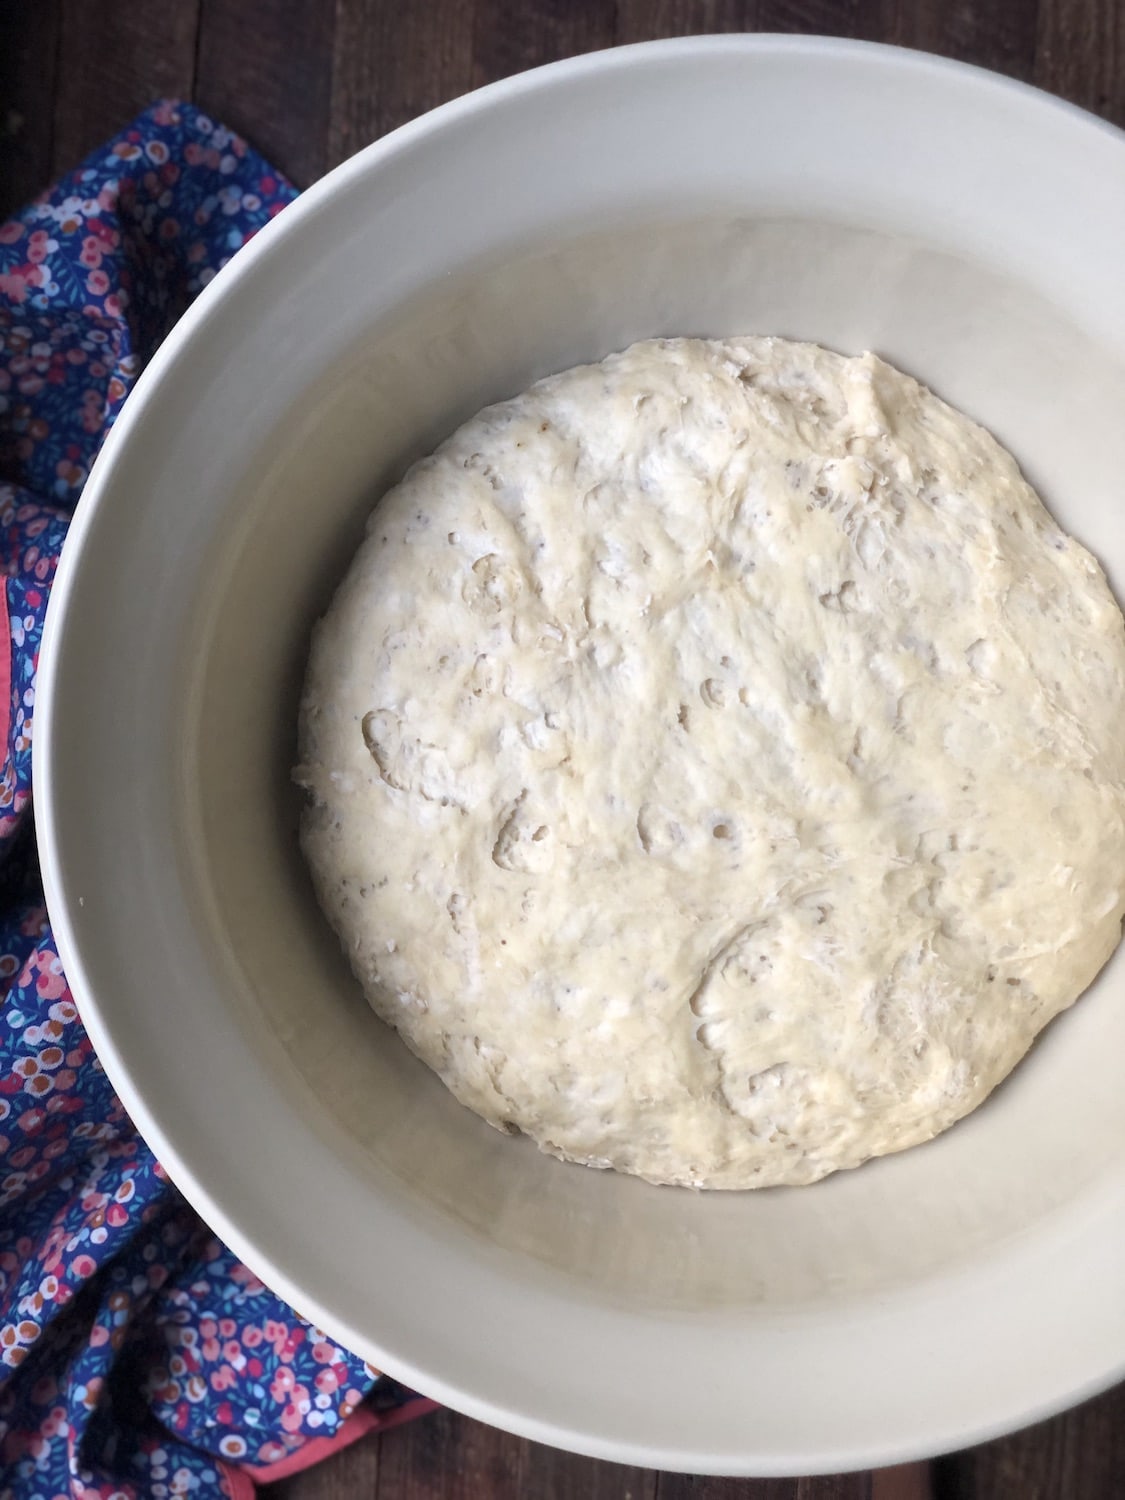
- Pour the yeast mixture and the remaining 3/4 cups of water into the flour mixture and mix with a wooden spoon until the flour and water have fully incorporated. The bread will be shaggy, unlike traditional bread dough. Once you have mixed the ingredients with a wooden spoon, get your hands in the mix and begin pressing the dry pieces into the wet until completely incorporated. It should be a little sticky; if it is not, add a tablespoon of warm water to create a less dry and more sticky texture. Continue adding a tablespoon at the time if needed.
- Cover with a towel and allow to rise overnight, 6 to 18 hours. The dough will rise and have bubbles.
- Flour your work surface and your hands and turn the dough out onto the floured surface. Gently form the dough into a ball. Sprinkle the dough with a little flour and cover with a towel for 1 hour. Make sure it is in a warm place and there are no drafts.
- After 30 minutes, preheat the oven to 450 degrees. Place an empty Dutch oven inside the oven to get super hot.
- Remove the hot Dutch oven from the oven and carefully remove the lid. Gently place the dough into the Dutch oven, cover with the lid, and place into the oven to cook for 30 minutes.
- After 30 minutes, remove the Dutch Oven from the oven and carefully remove the lid and place back into the oven for a remaining 15 minutes or until the bread reaches 209 degrees and is golden brown. Remove bread to a cooling rack for 30 minutes. When ready to serve, cut with a serrated knife.


What do I use if I don’t have Dutch oven?
You can do this in a bread pan, but jus dome the top of it with tin foil.
I just made a similar no knead bread yesterday for the first time. I’m usually a sourdough person, but this was so simple and easy! It’ll be my go to bread for a while. Loved the no need to punch down, knead, rise, do over again.. LOL
I’m so glad you like it!! Hurray!!
Hello Stacy, it’s your U.S. Navy veteran friend again, I hope this finds you and the family doing well. My question is can you use self-rising flour for this recipe. I love home made bread over the store bought, and this recipe looks easy. Thanks, and please stay safe!!
Hi Michael! In this recipe, I wouldn’t do that. I hope you are doing great too! I love that you want to make bread!
Anyone tried using whole wheat or any other type of flour instead of plain white flour?