5 Tips for Making No-Knead Artisan Bread
No-Knead Artisan Bread has crept into desserts, lunch, brunch, supper, appetizers, and, yes, even in breakfast. And why not?
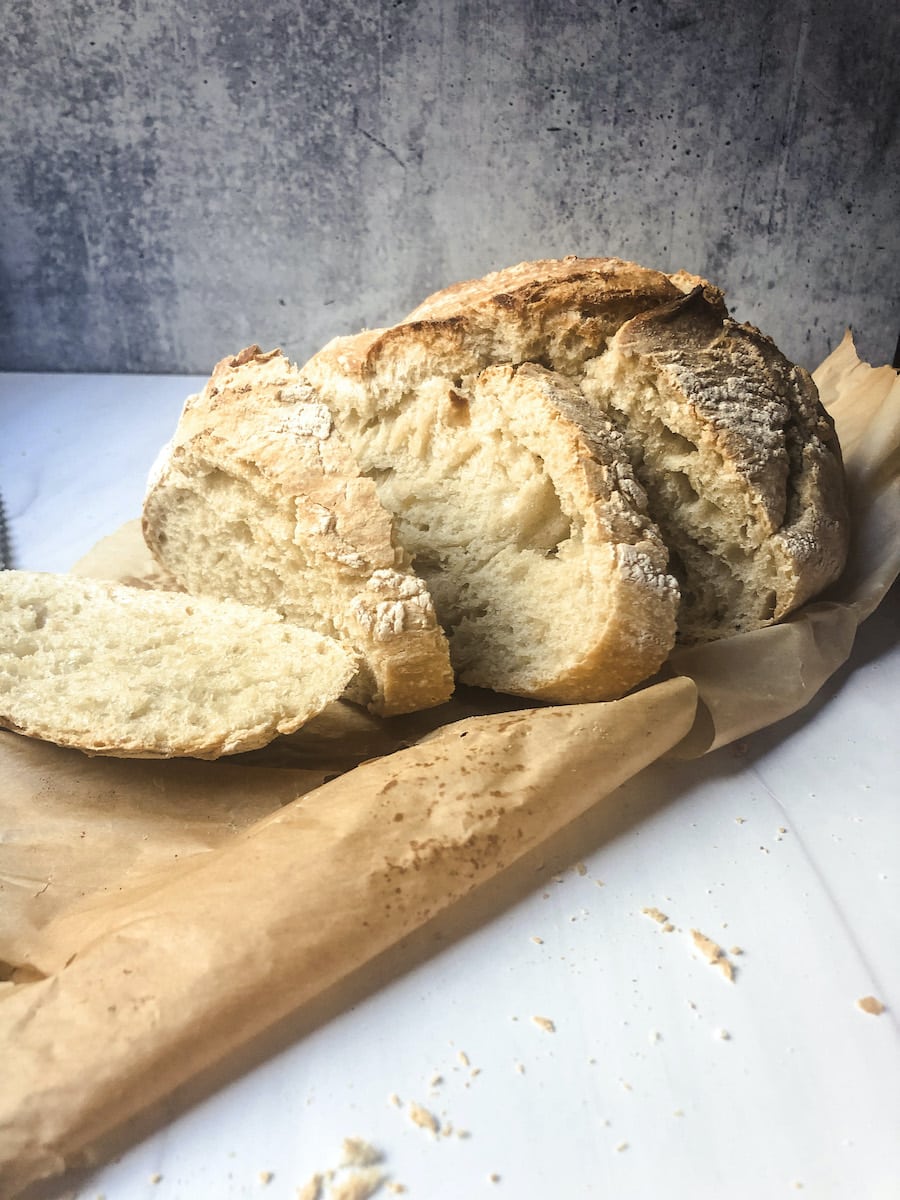
So, who doesn’t love a nice exterior crunch, yet delicate slice of perfectly cooked bread?
My husband, Scott, is the definition of a bread fanatic.
For instance, throughout the spring and summer seasons, he is making and preparing jams and jellies. It’s really all and only because they are to go on pastries of all sorts but bread being the real vehicle for them.
However, no matter how much one loves it, making bread at home can become a time consuming and a very tedious job.
Consequently, opting for store bought pastries can quickly become more and more tempting as you read the everlasting and complicated bread recipes of old.
5 Tips for Making No-Knead Artisan Bread
1. Make Sure the Dutch Oven is Hot When making No-Knead Artisan Bread
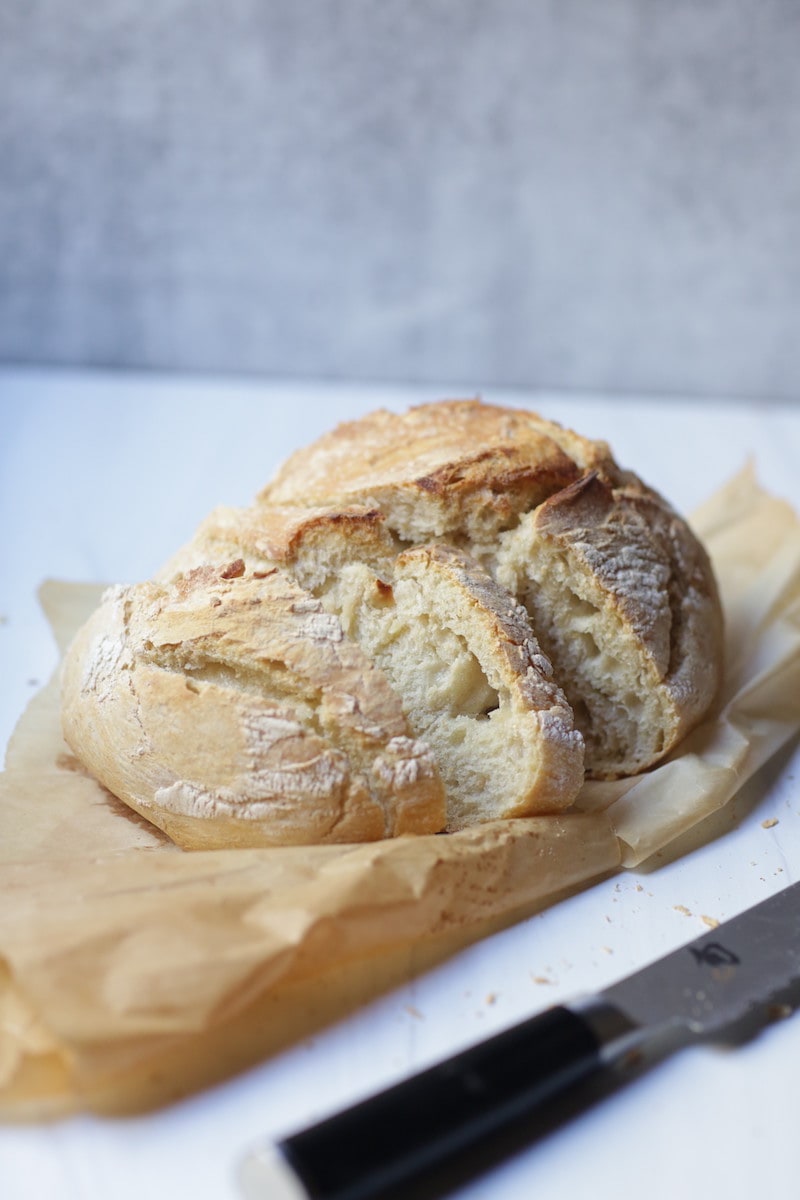
Having a preheated Dutch oven is a huge component in No knead bread. When placing your room temperature dough ball into a fiery hot dutch oven the outer layer is going to quickly cook, creating a perfect crust. Also the intense heat will quickly enlarge the carbon dioxide pockets before the proteins have set, an essential ingredient to create a chewy, light and structured bread.
2. Beware of Yeast and Salt Coming in Direct Contact
Yeast and salt should never come in contact in high concentrations or you may run the chance of killing the yeast.
3. Do Not Rush Rising Time in Making No-Knead Artisan Bread!
Rising time is essential, especially with no knead bread. I say no knead bread, but what I mean is not kneading necessary by a human. After all of the ingredients are added and your work is done, the yeast begins to do its thing.
As the dough sits at room temperature the enzymatic action from the yeast begins to break down the protein, making the dough relax. Rising time is what makes this no knead recipe work.
Given the correct amount of time, the yeast has had time to create bubbles by using carbon dioxide, which in turn “kneads the dough” and aligned the proteins with each other.
4. Do Not Be Tempted to Add Too Much Flour
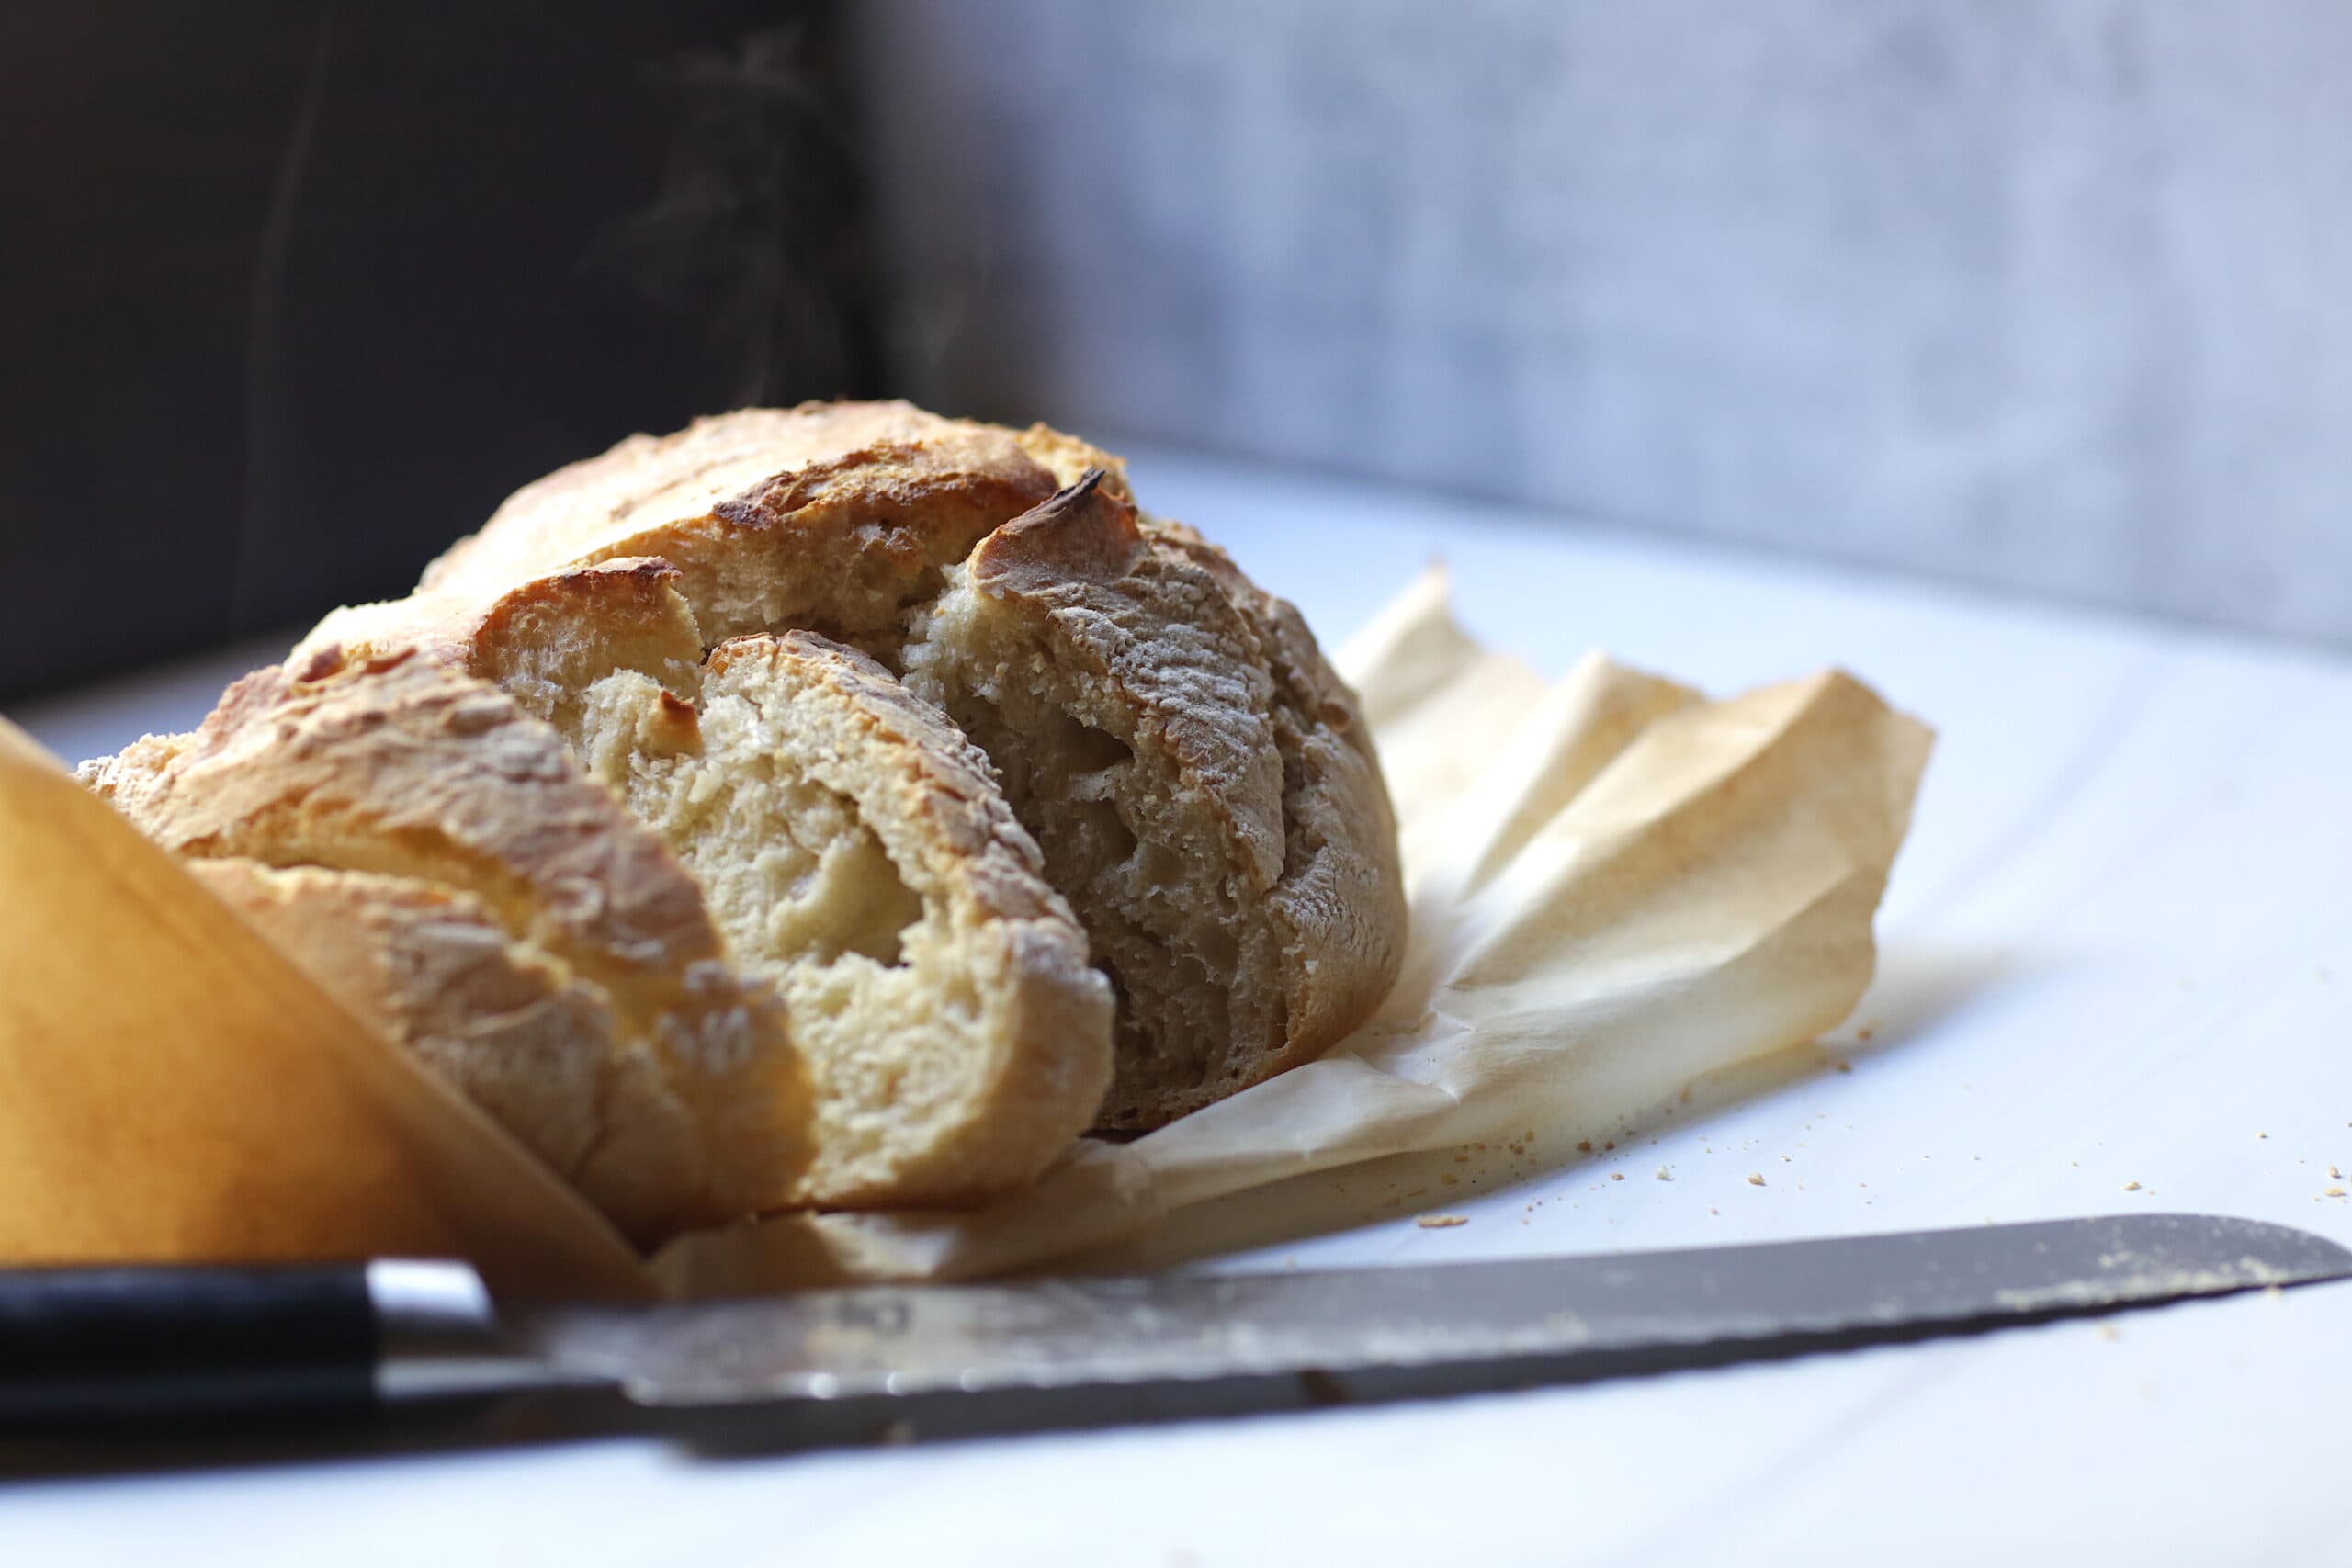
Too much flour will make the dough dense. This dough should be sticky in the early stages, but will begin to shape up later in the process. Crust and crumb are created from the steam, so moisture in the dough is essential.
If it is too dry and hard to mix, add water about a tablespoon at the time.
5. Do Not Over-Rise the Dough
Although you want to give the dough enough time to rise, don’t allow it to over-rise. The dough will over-ferment and have an off-taste and texture.
If you are wanting to run errands or need it to rise more slowly, put the dough in the refrigerator. The dough will continue to rise, but it will rise slowly.
Happy Bread-Making!! Watch me make Crusty Bread in my Earthen Oven! Click here my simple No Knead Artisan Bread Recipe!