How to Brine a Turkey: Easy Recipes for Brining
Learn how to brine a turkey two easy ways: wet brine or dry brine. Brining is the easiest, best way to ensure moist, flavorful meat in your perfectly cooked turkey. Once you’ve brined it, you are ready to roast, fry, or smoke your moist turkey to perfection.
Already know which method you want to use? Jump to:
Or read on to learn more about the brining process and see which method is best for your Thanksgiving turkey.
For a complete overview of all the steps of preparing your turkey, see: Brine and Cook a Turkey Perfectly Every Time!
How Do You Brine a Turkey? the Basics
There are two types of brine: a wet brine, and a dry brine. I use both, depending on the method I intend to use to cook the turkey.
Salt is a key component in both brines. The salt breaks down the muscle and enables water to be absorbed into the meat.
Wet Brine vs. Dry Brine
Both wet brines and dry brines have their advantages and disadvantages. Both will take up refrigerator space, but the wet brine will take the most space since the bird has to be completely submerged. Below, I’ll cover the solution to that problem.
In essence, the wet brining process plumps up the bird with moisture. The turkey absorbs up to 40% more water in a wet brine than dry. The salt breaks down the muscle, allowing the water to penetrate into the meat and stay there while cooking.
A wet brine ensures moist meat, to be sure. However, unfortunately, you may not get the most flavorful turkey. With a wet brine, you may be left with an overly moist but bland-tasting bird. One solution is to add more herbs and spices: aromatics like bay leaves, garlic, peppercorns, whole spices, rosemary, and thyme.
In a dry brine, the salt draws out the juices, combines with them, and then penetrates back into the meat. A dry brine breaks down the muscle fiber and protein, allowing the moisture to stay in the bird during cooking. You will still need room in the refrigerator for the bird to brine, but usually not as much as if you were using a wet brine.
Though a dry brine may not be quite as moist, it really packs in the flavor.
How to Wet Brine a Turkey
Wet brining is a super easy process: a wet brine is merely a mixture of water, salt, spices, aromatics, and sugar. I also like to add an acid like vinegar to the brine for an element of flavor that otherwise can get lost with all the extra water added to the turkey.

See my wet brine video and recipe below. Combine all ingredients and bring the saltwater solution to a boil. Stir until sugar and salt are dissolved. Turn off the heat and allow the mixture to cool completely. Then add 4 cups of ice to the mixture.
Submerge cold, thawed turkey into the mixture and place in the refrigerator or in a brining bag submerged in ice in a cooler. (A trash bag will work just fine.) Allow to cool for 24 to 48 hours. The temperature will be easiest to keep constant in the fridge. If using the cooler method, check the internal temperature to make sure it remains between 35 and 40 degrees. Pour ice over the trash bag as the ice melts.
Before cooking, dry the skin completely. Now you are ready to roast, fry, or smoke your brined turkey!

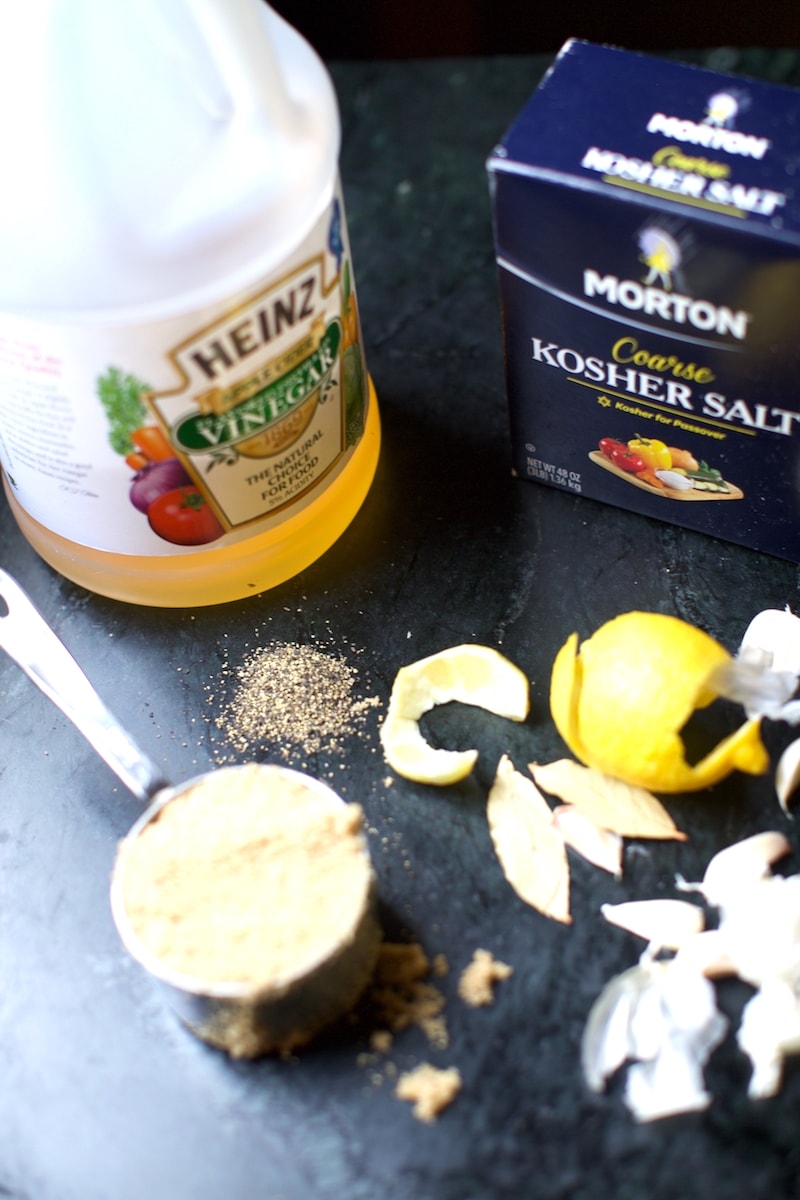
How to Make a Turkey Brine
Ingredients
- 1 gallon water
- 1 cup apple cider vinegar
- 1 cup brown sugar
- 1 cup salt
- 5 cloves garlic
- 3 bay leaves
- 1 tablespoon black pepper
- peel of one lemon
Instructions
- In a large pot, bring water, apple cider vinegar, brown sugar, and salt to a boil. Once it reaches a boil, turn off the heat and stir until the sugar and salt are dissolved. Add the garlic cloves, bay leaves, pepper, and lemon peel. Allow mixture to cool completely. Add 4 cups of ice to the mixture.
- Place a large plastic trash bag inside a cooler. Put the clean, dry turkey inside the cooler and pour the brine over the turkey. Periodically check the temperature of the cooler. It should remain between 35 and 40 degrees F. Leave the turkey in the brine for 24 hours.
How to Dry Brine a Turkey
Dry brining is my favorite method of cooking a Thanksgiving turkey, especially when I am planning to smoke the bird. Here is how to brine a turkey to smoke.
First, I usually spatchcock the turkey so that I won’t need as much room in the refrigerator. “Spatchcocking” may sound like a funny word, but it is basically the same as butterflying a bird. You are just cutting out the backbone with kitchen shears or a cleaver so that you can press the turkey flat. You can watch me spatchcock a turkey in this video for the Outdoor Channel.
Then for the brine, I use salt and spices to impart rich, earthy flavors. See the simple recipe below. As mentioned, dry brines will give more intense flavor to the turkey meat than wet brines.
Dry brining is much easier to me than wet brining because it has fewer steps.
- Mix the dry ingredients (Kosher salt, rosemary, brown sugar, and garlic) and coat the whole turkey with them. Place the turkey uncovered in the refrigerator for 24 to 48 hours.
- When ready to cook, remove the turkey from the fridge and it to come to room temperature. Once it has reached room temperature, dry it with paper towels. Your dry brined turkey is ready for smoking, roasting, or frying!
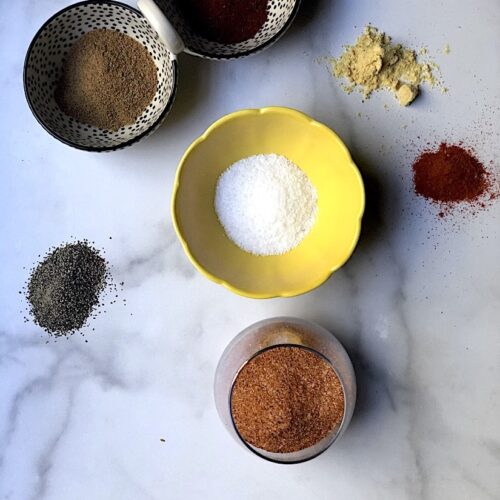
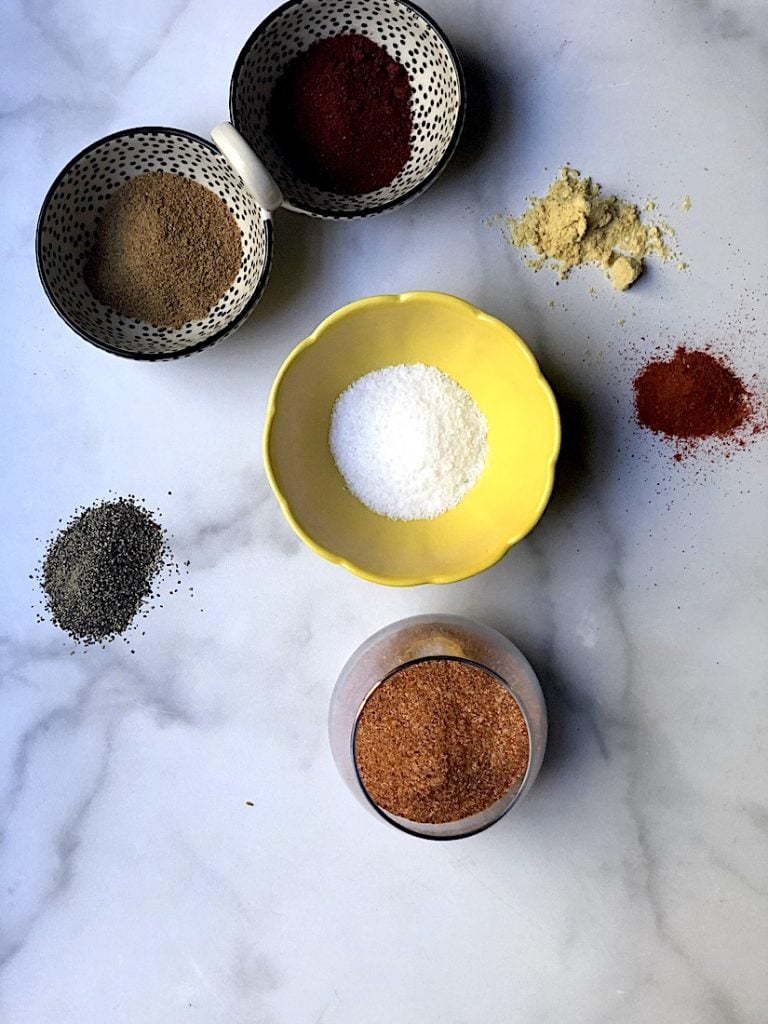
Dry Brine Recipe for Turkey
Ingredients
- 1/2 cup Kosher salt
- 1/4 cup brown sugar
- 2 sprigs fresh rosemary, minced
- 3 Tablespoons garlic powder
Instructions
- In a medium-sized bowl, mix salt, brown sugar, rosemary, and garlic powder until fully incorporated. Place turkey on a roasting rack inside a large roasting pan. Pat mixture all over the entire surface area of the turkey, inside and out. Chill in the refrigerator uncovered (air needs to surround the turkey) for 48 hours.
- About 1 hour before cooking, remove turkey from refrigerator and rinse thoroughly. Pat turkey until completely dry. Allow the bird to come to room temperature before you cook it so that it will cook more evenly and quickly.
- Your turkey has been brined and is now ready to fry, roast, or smoke!
– Happy Thanksgiving from Stacy Lyn!
Here are more of my top holiday recipes.