Homemade Apple Cider Vinegar (ACV)
Homemade apple cider vinegar is an incredibly versatile and healthy condiment. It’s also a great way to utilize apple scraps that would otherwise go to waste. On top of that, ACV is easy to make!

Have any leftover apple peels or apples that are going bad? After making a delicious apple pie, I like to utilize my peelings and cores in a resourceful, cost-effective way. If you aren’t planning on giving your peels to the chickens or compost pile, then consider DIY apple cider vinegar!
Is raw apple cider vinegar good for you?
Homemade ACV is raw apple cider vinegar. That simply means it’s unpasteurized, although you absolutely DO sterilize your glass jars to start. Since you don’t subject the mixture to high heat, the “good” bacteria and wild yeasts stay active.
Raw ACV may have the vinegar mother, a cloudy substance that is rich in prebiotics, iron, B vitamins, and phytochemicals. Thanks to the fermentation process, ACV also contains probiotics known for their health benefits. As for the bad bacteria, as explained below, the low pH of the vinegar naturally keeps them at bay.
How to Use Homemade Apple Cider Vinegar
The benefits and uses of ACV are many. Some are scientifically proven, while others are anecdotal tips that you can take with a grain of salt.
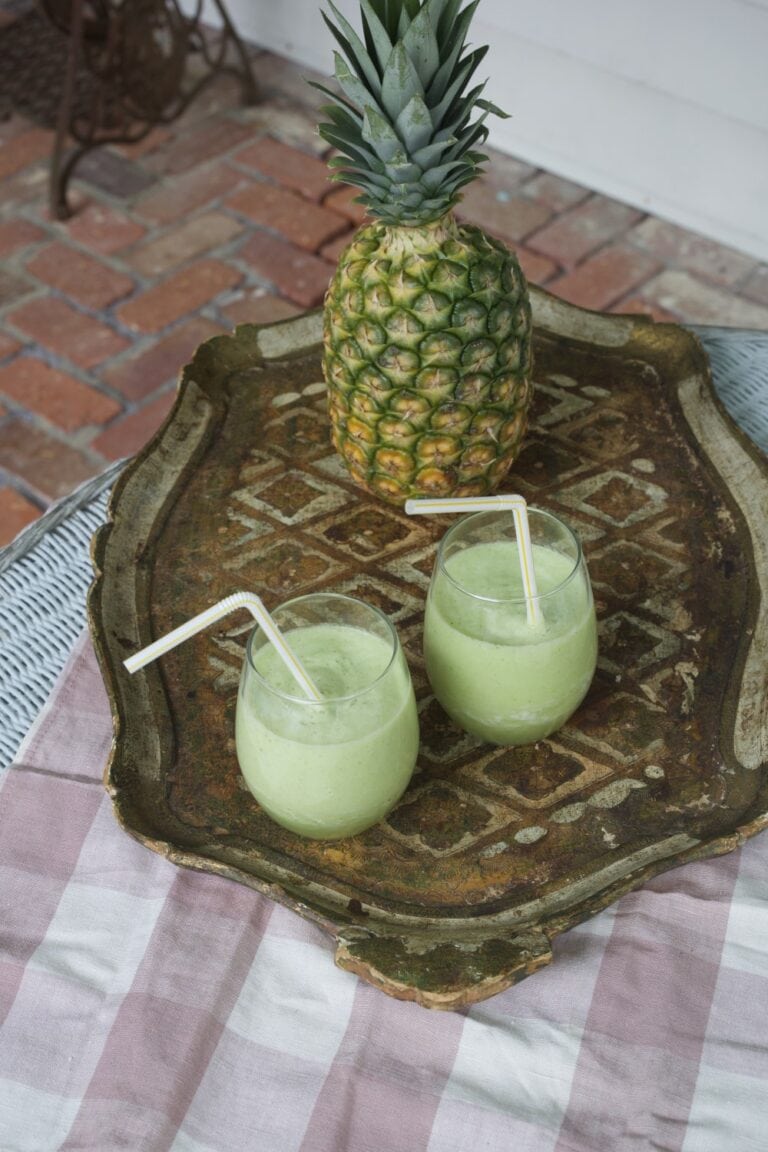
- Small research studies have shown that ACV helps to increase insulin sensitivity and slightly lower blood sugar levels. You can put a teaspoon or two of ACV in water with honey for a refreshing beverage. Just be sure to sip it through a straw to protect the enamel on your teeth from the vinegar’s acids.
- Because of its antibacterial properties, apple cider vinegar can help neutralize bad smells. Some people like to mix a 1:1 ratio with water in a bottle to make a deodorizer or cleaning spray.
- ACV makes a delicious base in soups, sauces, and vinaigrette salad dressing. Even some desserts call for it! People have even used apple cider vinegar to add tangy flavor to hot teas. Some people suggest it helps to soothe sore throats–that’s purely anecdotal, but hey, it won’t hurt to give it a try.
- It’s attractive to fruit flies, make it natural fly trap. Put a small amount of apple cider vinegar in a small dish (1/4 cup or less) with a few drops of dish soap, and the flies won’t be able to resist it.
- When used as a marinade, ACV adds a tangy zip to your meats, especially when mixed with other flavorful ingredients such as wine, soy sauce, worcestershire, onions, and cayenne pepper.
- Apple cider vinegar has been used as a hair mask to remove product buildup. You can mix equal parts of ACV with water, pour over the hair, and let it set for about 5-10 minutes before rinsing.
- You can even mix apple cider vinegar with witch hazel to make a gentle, refreshing facial toner!
NOTE: You should always dilute the ACV more if you have sensitive scalp or skin.

Understanding the ACV Fermentation Process
What happens when you make apple cider vinegar? What gives it that tang? Apple cider vinegar contains acetic acid from fermentation and citric acid from the fruit.
When first making ACV, I had the question: why do you not add salt? If you have ever fermented something before, like sauerkraut or traditional pickles, you will usually use salt to battle and control the type of bacteria (especially the dreaded clostridium botulinum) that will grow unless you establish a low pH.
But homemade vinegar is a salt-free process. It relies mostly on the naturally acidic pH for protection. Believe it or not, making vinegar is closer to making cider than making pickles.
Pickles and sauerkraut rely on growing a Lactobacilli bacteria in a salty environment without oxygen (anaerobic). To make cider and vinegar, you rely on growing yeast (Saccharomyces ss.) in an acidic environment with plenty of air (aerobic).
Once the cider turns hard, vinegar develops with the introduction of a bacterium in the Acetobacter family to turn the alcohol into, well, acetic acid. The lower pH of the apples will make the vinegar a harsh environment for bad bacteria.
What if I have chlorinated water?
A lot of ACV recipes say “No chlorinated water!” This is because chlorination prevents the good bacteria from growing. A good faucet or pitcher water filter will remove most of the chlorine.
However, the chlorine also will deactivate / break down if you leave the water out on the counter overnight. Chlorine evaporates when exposed to air long enough. Alternatively, you can just boil the chlorinated water for 10 minutes and let it cool down to room temperature.
How do I avoid mold in homemade apple cider vinegar?
I have seen minute amounts of mold develop on the very top of an apple that was not covered completely by the water. I just scraped that small part off. As long as the mold does not extend into the liquid, then the apple cider vinegar is salvageable. But as soon as mold goes beyond a small apple piece that is un-soaked at the top, you will need to throw it all out and start over. Keep in mind that mold likes to extend beyond the naked eye.
To avoid mold development in your ACV:
Place a weight on top of the apple parts to keep pieces submerged. If you are using a crock, you probably already have a stone piece to help with that.
Be sure to only fill the apples up in the jar to about ¾ of a way full to aid in the reduction of possible floaters on top attracting mold growth.
Happy vinegar making! Be sure to let me know in the comments how yours turns out.

Homemade Apple Cider Vinegar
Equipment
- 1 sterilized jar or a fermenting crock more jars if you are making a larger batch
- cheese cloth or coffee filter
- rubber band or a jar ring
Ingredients
- apple peels and cores you can use slices or a whole apple, but I’m all about utilizing waste!
- 1.5 tablespoons sugar or about 1 tsp per apple
- water
Instructions
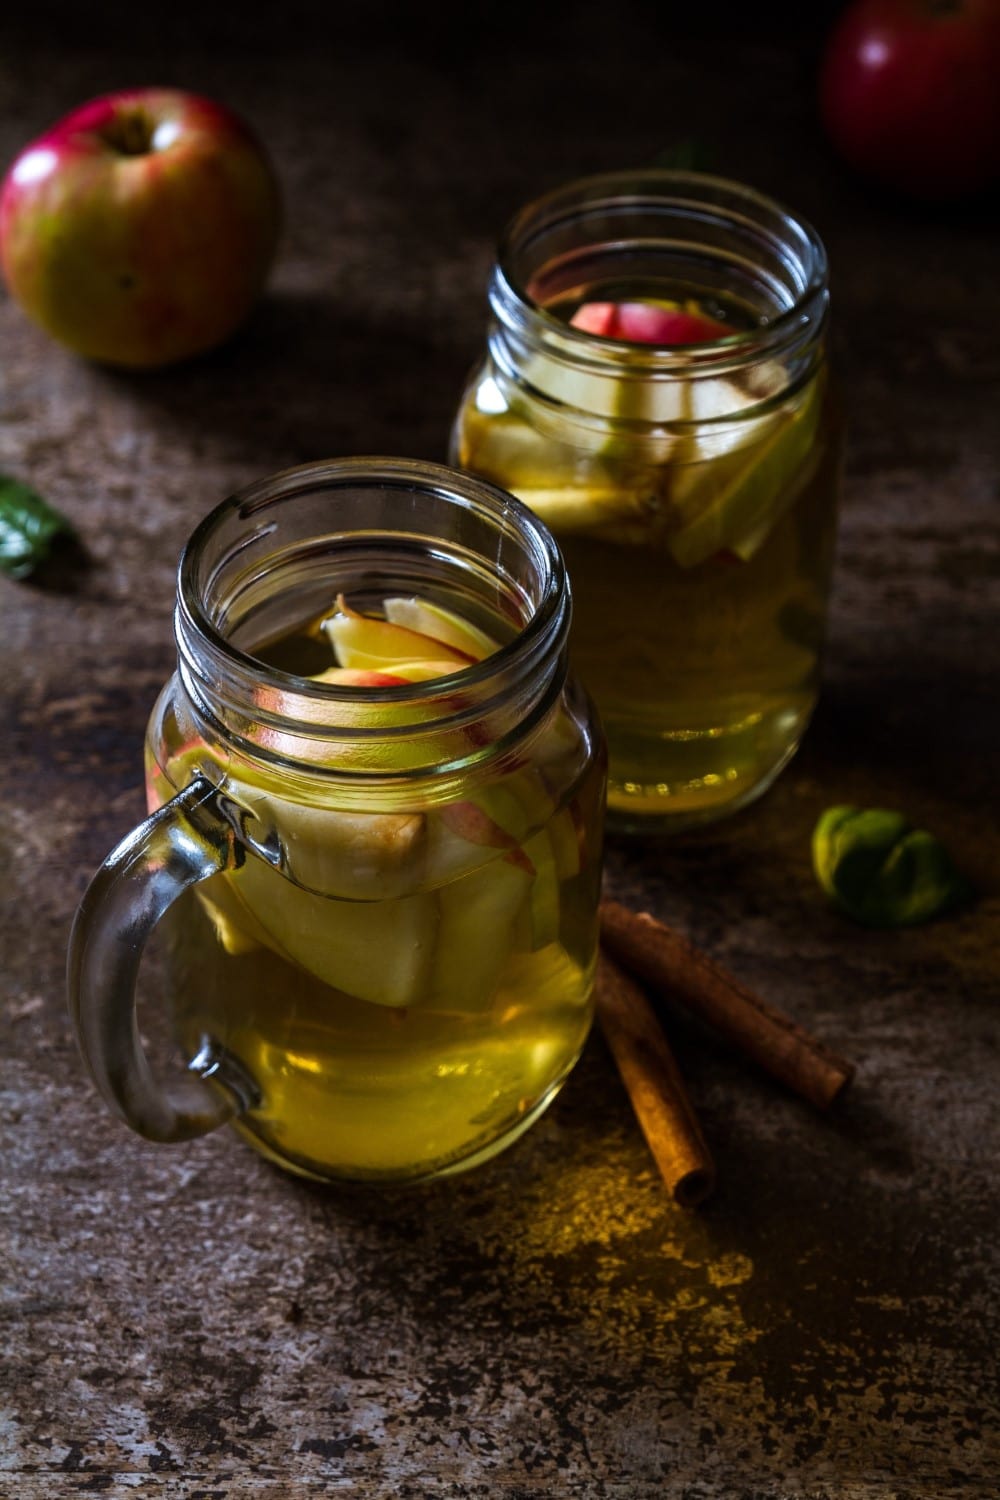
- Make sure your mason jars are sterilized. Place the apple peels and cores (or apple pieces) in your fermenting jar. You want to fill up each jar a little over ¾ full, but not 100% full because the apple pieces will expand a little once the cider has set.
- In a separate bowl, mix 1 cup of water with 1.5 Tbsp of sugar per jar. Pour the mixture into the jar over the apple parts. Add more water as needed to ensure the apple bits are COMPLETELY covered to avoid mold growth. This may require a small weight be placed on top of the apple pieces to ensure complete submersion.
- Place cheesecloth or coffee filter over the top of the jar. Secure with a rubber band or a ring. NO LID. This enables oxygen to pass through to aid in the aerobic (oxygenated) process of the ACV development, while preventing flies or gnats from getting into the mixture.
- Place your jar in a cool (60-70 F°), dark spot for 2 weeks. I put it with my potatoes in the pantry.
- If you check on the apples before the two weeks are up, you may notice bubbling. It’s all part of the fermentation process. At the end of the two weeks, the bubbling will have ceased.
- At the two-week mark, the apples will sink a little in the jar and the consistency will be cloudy. This indicates the apples have fermented, and they now can be discarded. You may notice a sweeter vinegar aroma at this time. If the vinegar is bad, it will smell rotten and sour. Trust me, you will know if it is spoiled.
- Strain the remaining solution, discarding the large apple parts with the use of cheesecloth or a filter. Be quick if using a metal strainer because if the apple cider vinegar sets on the metal for an extended time, the acid will corrode the metal and make a bitter taste.
- Next, place the coffee filter or cheesecloth back on top of the jar and set a lid LIGHTLY on top. You still need to allow for a little bit of oxygen to pass through the filter, but not as much as before. A loose lid will allow the new good bacteria that’s been created to continue developing inside the apple cider vinegar.
- Return the jar to the same cool, dark spot. This will allow the apple cider vinegar to ferment further and become more concentrated. Give it 2-3 more weeks to develop deeper concentrated flavor and that classic, tangy aroma.
- Once you’ve achieved your desired ACV concentration based on your preference, drain the vinegar into a sterilized jar, screw on a tight lid, and place in the fridge. Your apple cider vinegar should remain good for at least a year. If a congealed substance has formed on the surface of your ACV, then you have created the much-valued vinegar mother, known to be full of probiotics.