Starting Seeds: Grow Tomatoes, Peppers, Eggplant and More
Starting seeds in winter is an act of faith. The sight of the wind blowing through the midwinter barren oak branches hardly encourages me to work on my summer garden. Yet it’s exactly the right time to sow seeds for a richly producing garden.
When Should You Start Indoor Seeds?
Starting seeds in winter is an act of faith. The sight of the wind blowing through the midwinter barren oak branches hardly encourages me to work on my summer garden. Yet it’s exactly the right time to sow seeds for a richly producing garden.
The way I feel doesn’t matter because around the corner comes the summer heat. For my garden to be part of it, I have to start now. The time to get started is when we don’t feel like it!
Sure, I could buy the vegetables as seedlings for the garden, and sometimes I do. When I do buy them, I get GMO-free plants. However, starting seeds from a seed packet gives me access to many more varieties than those available at the nursery. It also allows me to grow my garden less expensively.
I also plant a lot of heirloom vegetables from seeds saved from the previous year. Starting from seeds in the right soil, I know our veggies will grow well and also will be rich in nutrients.
Which Vegetables Should You Start from Seeds Indoors?
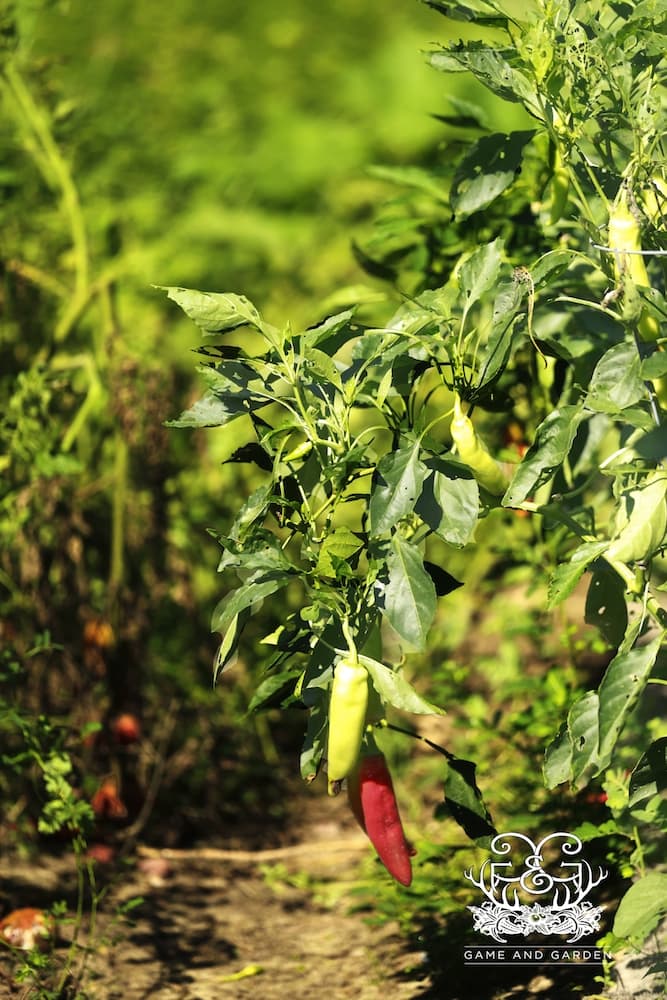
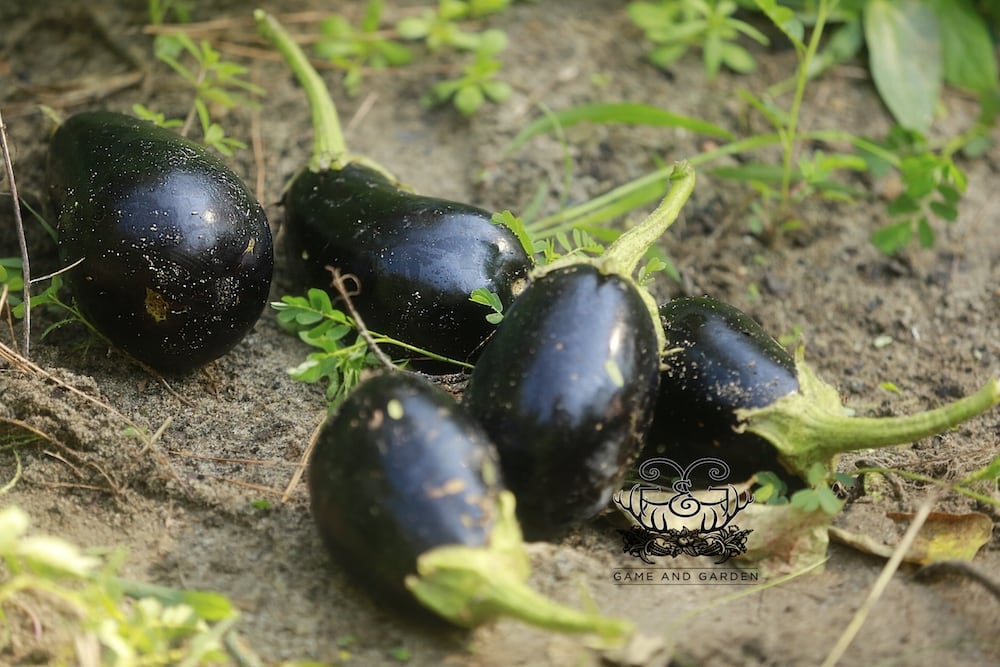
Since the nightshade vegetables, such as tomatoes, peppers, and eggplant, take the longest to produce fruit, they should be started indoors before any of the other vegetables. You can also start lettuce, cabbage, cauliflower, and broccoli indoors. Bigger seeds like beans and squash do best when you sow them directly in your garden soil.
Sure, you could get a head start with your other vegetables, such as squash, melons, cucumbers, and beets. However, they produce relatively quickly and often have trouble transplanting. I find it best just to plant them directly into the garden.
If you want to know when to plant what, check out this post.
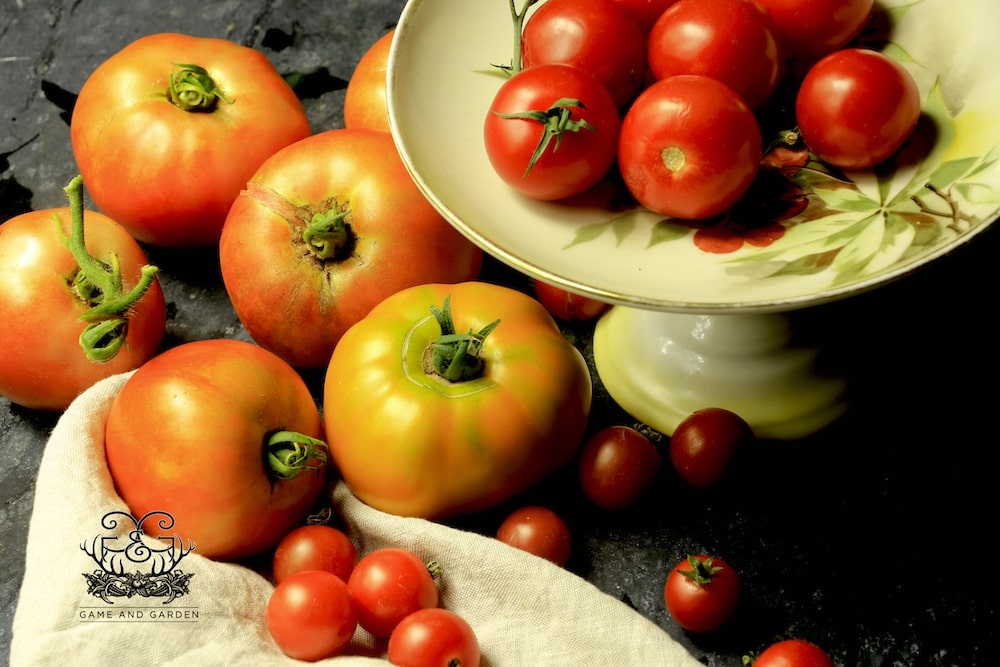
Plant enough Heirloom and Hybrid tomatoes to eat right away (every day of the harvest season) and enough to preserve for the entire year.
Starting Seeds: from Seed Tray Germination to Garden Planting
Planting times will vary by growing region. Click here for frost dates in your area.
Plan to seed tomatoes around 6-8 weeks before your average last frost. If you live in the South, tomatoes should be the only vegetables that you HAVE to start early.
What is the best way to start seeds?
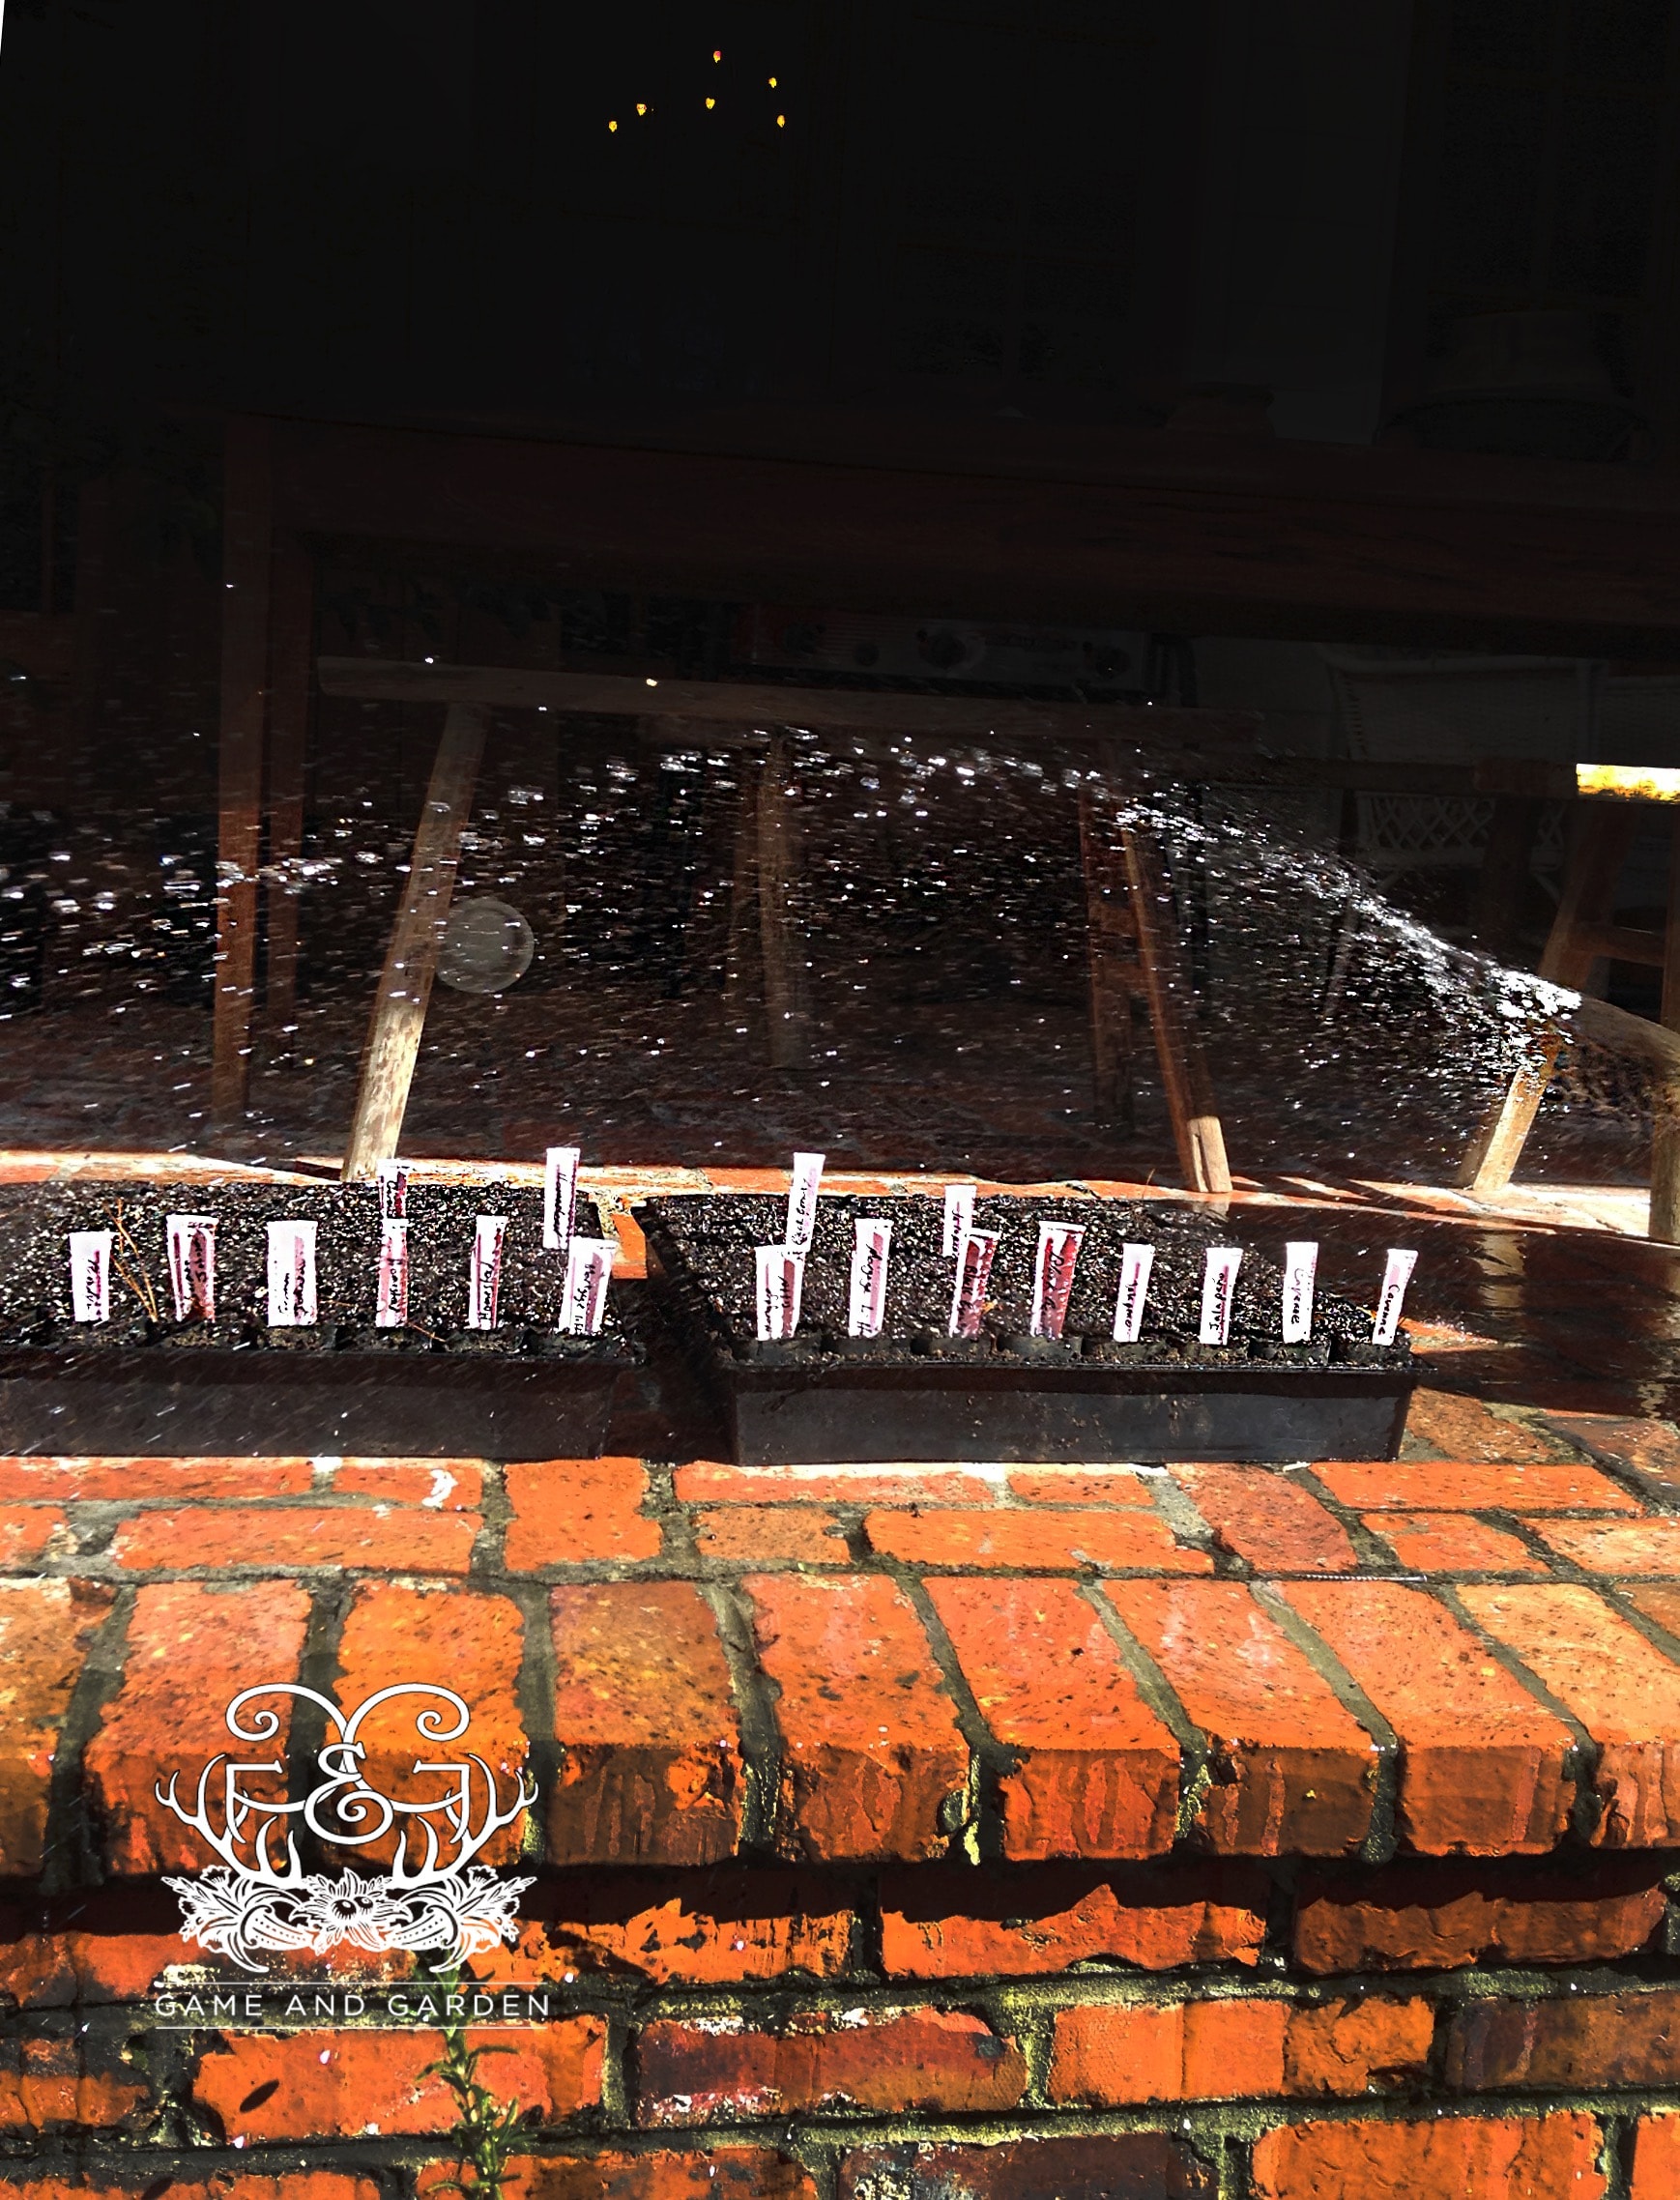
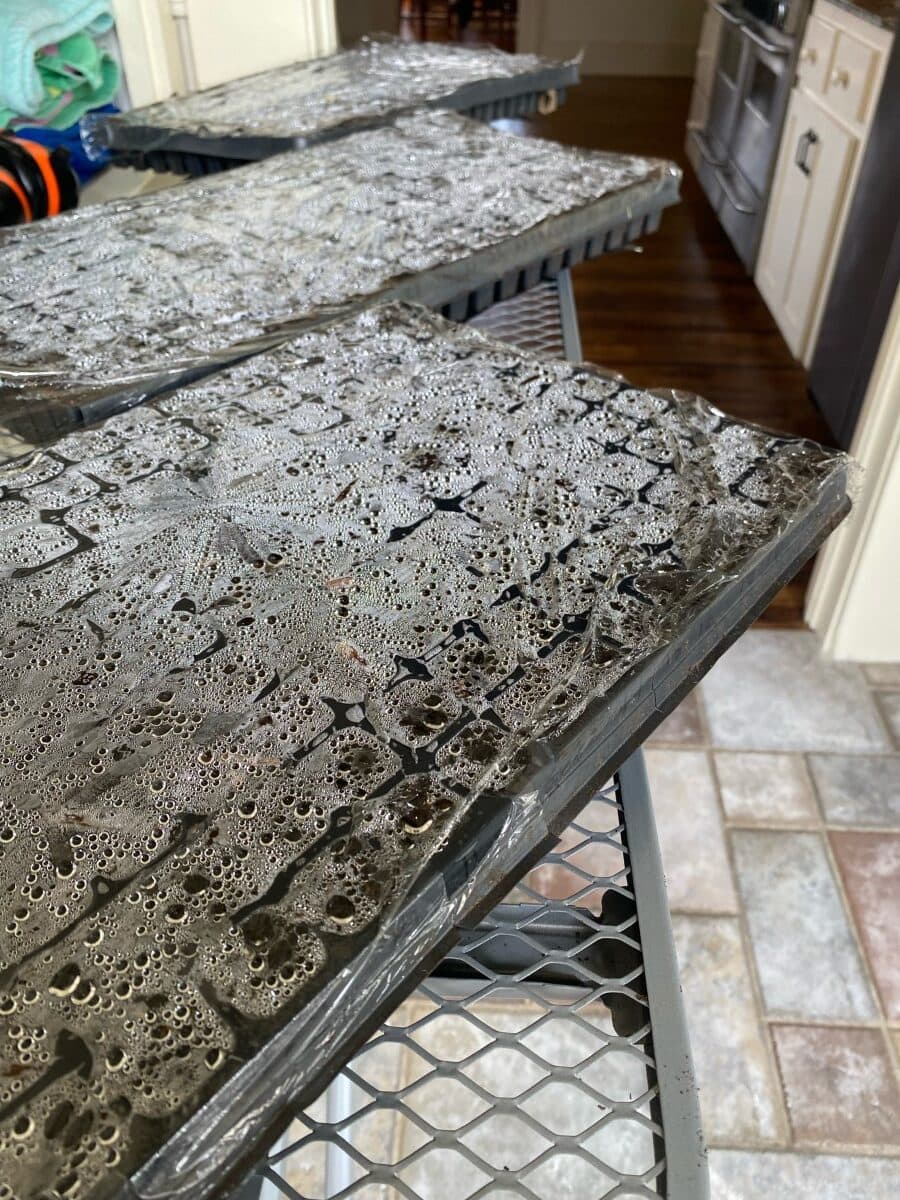
You really don’t need much to get started with your seeds. You can create a mini-greenhouse with seeds, seed trays, moisture, and a source of sufficient light. Some people buy a special humidity dome to aid germination, but you can also just cover the seed trays with plastic. That’s what my son and daughter in law are doing this year.
I’ve also read about indoor seed starting with fluorescent lights. Grow lights are fine, but I prefer natural sunlight. A few hours of direct sunlight are really all you need.
STEP 1 – Prepare the Soil
You can use egg cartons, too. Just be sure to poke some drainage holes in the bottom.
SOIL TIP: Don’t substitute ordinary plant potting mix for this soil medium. Potting mix contains large pieces of bark, or garden soil, and compacts easily. Believe me; results will be poor. It’s worth it to use good quality germination soil.
STEP 2 – Plant Seeds
Place 2 or 3 seeds in each container, at 1/4” deep. Pat down soil medium, and water the soil.
STEP 3 – Keep Plants in Warm Location in Moist Soil
Place the newly sown vegetables in a warm location, preferably 75° or warmer. Generally speaking, temperatures of 65° or greater will work fine and are usually easy to accommodate in the house.
Like most plants, the vegetables need to consistently be in moist (but not saturated) soil throughout their growing season.
Once the seedlings emerge, relocate to a sunny location where they can receive 5-6 hours of light and enjoy a comfortable temperature of around 70°.
Water the seedlings with a half-strength solution of liquid fertilizer when needed.
STEP 4 – Transplant and Harden Off the Seedlings
Once the first true leaves appear on the seedling (when they are around 2 inches tall), transplant vegetables in 3-4 inch pots filled with similar soil medium.
Also at this time, snip the extra seedlings you planted in each cell so that each pot contains only one plant.
A couple of weeks before planting, begin to harden off the seedlings by bringing them outside.
Start by placing them in a partly sunny area for about an hour on a day when the weather begins to warm.
Follow this by a couple hours of outdoor sun the next day. By the end of a week or 10 days of hardening, tomatoes will be ready for the garden.

A Few Extra Tips for Tomatoes
Starting seeds is the same basic process for just about all your vegetables. Tomatoes, however, benefit from attention to a couple more details.
When you transplant the tomato seedlings to bigger pots, plant the tomatoes a little deeper than originally (up to the true leaves).
Also, following transplanting, occasionally run your hand through the tops of the tomatoes or have a fan gently blowing on them (to simulate wind) for sturdier plants.
By simply following these guidelines, you will have great healthy young plants that will give you amazing flavor fantastic dishes for your family.
Enjoy starting seeds, growing your own food, and tasting the harvest of your hands!


In my area the price of one transplant is often more than a package of seeds. When you look at the cost from that perspective, it’s easy to see the savings. Growing your own transplants does take a little work, but your blog will help people get off to a good start.
Thanks Ally!
What soil do I use to start my seeds. What did you mean by medium?
Hi Monica! So good to hear from you. The medium in which I start seeds is potting soil medium. Please send me a picture to FB when you plant!! I’d love to post it.
What is the best kind of soil to start tomato seeds in? I get them started and they get stringy and weak and how much do we water them?
Hi Phil!!! Seed starting soil medium is the best. This should be placed in seeding trays over heating mats in a room with a lot of sun or a seeding light right above it. That combined with weak fertilizer a couple weeks in will get rid of legginess. Let me know how it goes!!